Letter strokes are a part of writing. Yet, how important are they? I do not have the research here yet. However, I have 20+ years of teaching experience and a clear memory of our elementary school’s occupational therapist coming into my Kindergarten classroom.
*This post contains affiliate links. For more information, see my disclosures here.*
Plus, this past spring I was working with a 3rd Grader whose writing was nearly illegible. After working intensely with him for a short period of time, he began to show clear and apparent improvement in his handwriting. So, in this post, I will address the importance of proper letter strokes, as well as outline a step by step strategy for helping older children improve theirs.
AN OCCUPATIONAL THERAPIST’S VISIT
The occupational therepaist who visited my kindergarten classroom conducted a 30 minute active lesson stressing the importance of proper letter strokes, top to bottom, left to right and counterclockwise circles.
CURRENT OBSERVATIONS
Additionally, for the last 7+ years, I have been teaching year round writing camps and workshops for students ages 5-13. It is a consistent observation that the majority of children who struggle with writing in general, struggle with handwriting.
They take a really long time to complete their stories or lose interest before they have finished because they are genuinely tired.
The thing is, many of these children have GREAT story ideas! They can rattle off their story with excitement and energy. However, writing out each word feels like a daunting task to them.
Unfortunately, letter strokes are not being stressed like they once were. In addition, cursive is becoming almost unheard of in many schools.
PRIORITIZING LETTER STROKES
From this experience, I have made developing proper letter strokes my first priority when teaching Kindergarten and now homeschooling my young children.
It’s just so important.
SCHOOL SUBJECTS
All other subjects and aspects of learning, eventually involve writing in some form or fashion.
I don’t want children to have to expend all of their energy on writing when they’re supposed to be focusing on a math, science, history or literacy concept. I want hand-writing to feel as natural as eating.
START WITH DRAWING
In order to foster this, I began a culture of drawing in my home. You can read the full post on the importance of drawing, how it can lead to proper letter strokes and how to go about it with your child or students here.
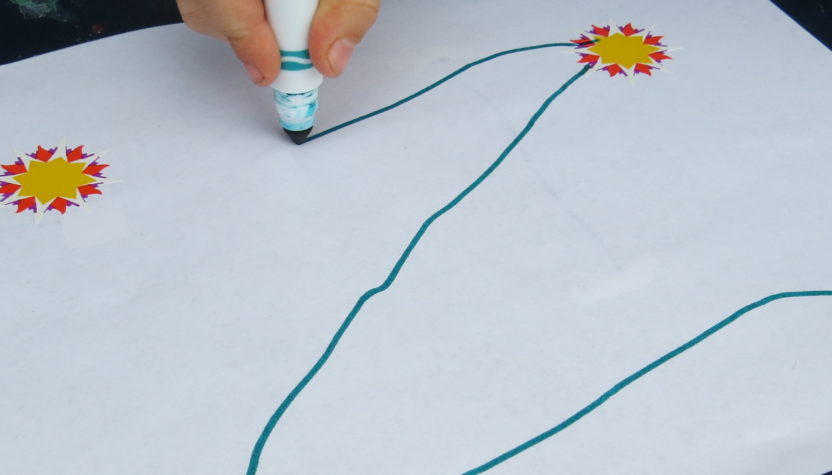
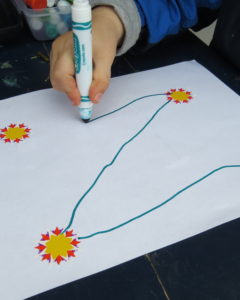
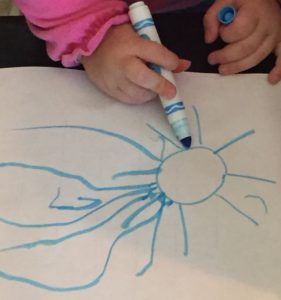
Here are examples of my own children’s drawing:
“Adding Sun Rays”
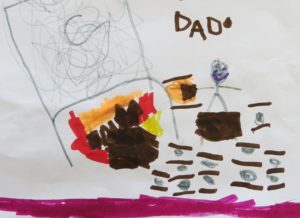
“11 Marshmallow Sandwiches”

DRAWING LETTERS
Drawing on a regular basis naturally lends the opportunity for me to teach the children how to “draw” proper letter strokes. I teach capital letters beginning at age 3.5/4. Once they’re comfortable with capital letters, I teach lower case.
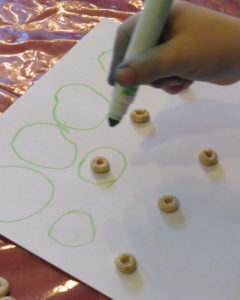
My own children have learned to form their letters using markers, stickers, paint and dry erase markers on white board. But the ideas for doing this are endless!
Pinterest has many ideas that include writing letters in sand, finger paint, shaving cream etc. At this stage, the size of the letters doesn’t matter at all. Their letters can be HUGE! The key is that their letters are formed properly.
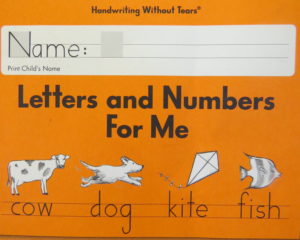
HANDWRITING WITHOUT TEARS
The occupational therapist who came into my Kindergarten classroom, truly left a deep impression on me. Her lesson was from Handwriting Without Tears* which I strongly recommend if you want professional guidance.
They have an entire series of books. They also have a Key Boarding Without Tears*, which I am equally passionate about for the older grades.
Because of our occupational therapist’s guidance and instruction, when I taught Kindergarten, I made writing letter strokes correctly a top priority. Making this a priority also led children to learn to read through their writing.
VERBIAGE TO USE
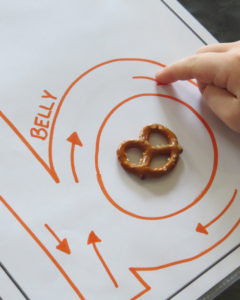
If you’d rather not purchase the Handwriting Without Tears books, here is a list of verbiage that I have used with my own children when I teach them how to write their letters.
I try to be simple and consistent with my words. And yes, my voice is almost motorized. I want them to hear the strokes clearly, even to the point where they say the strokes themselves when they are writing independently.
Early writers will make many mistakes. When they write strokes incorrectly, don’t dwell on it. Simply show them the correct stroke again. Have them try to write the letter correctly again…and again until they get it right. Go slow and keep repeating the same verbiage.
Below is a list of posts that offer ideas for practicing specific letter strokes. The list will continue to grow. If you’d like to receive new ideas monthly, feel free to subscribe to my monthly newsletter below!
Clearing up the lowercase b and d confusion
Older children
Some parents have stated, “My older child has horrible handwriting. Is there a way to change that?” And my response to them is, “I believe there is.” Earlier this year, I had a studen whose wrote many letters that were illegible. His mom was really concerned about his handwriting. So, I used the following steps with him. It didn’t take long at all for him to start showing clear and apparent improvement in his handwriting. According to my experience working on handwriting with older students, these are my suggestions:
The Most Illegible Letters
First, decide which letters are the most illegible. Plan to focus on those. Don’t expect to change, correct or improve all the letters of an older child, just the ones that really need it.
Counterclockwise O’s
Second, make sure the child is drawing counterclockwise O’s which will set him or her on the right track for writing the capital letters O, C, G, Q, S and the lowercase letters o, c, a, d, g, q and s.
Lowercase Letters h, b, r, n and m
Third, make sure the child is starting at the top and drawing down for their first line in the lowercase letters, h, b, r, n and m. This helps them write more smoothly and fluidly.
Set a Goal
Fourth, set a goal. I had 3 students work together to write 4,000 letters to earn a pizza party. If you’re working with one child, you might make a goal of 1500. This is how my 3 students completed 4,000 letters and steps that you can follow as well:
- First, choose the letters (only capital, only lowercase or a mix of both) that you want each individual student to work on. The letters can be different for each child.
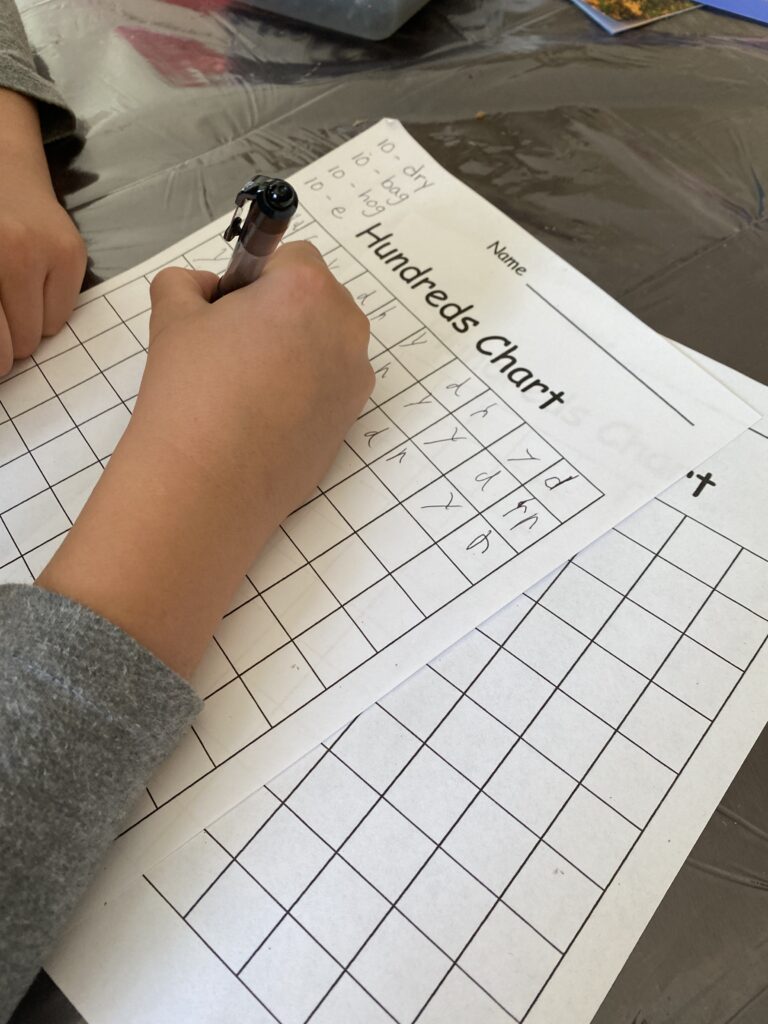
Hundreds Charts
2. Second, give each student 2-3 blank hundreds charts. Have each student write the letter that you want him or her to correct 100 times in the blank hundred’s chart. Do this for each letter.
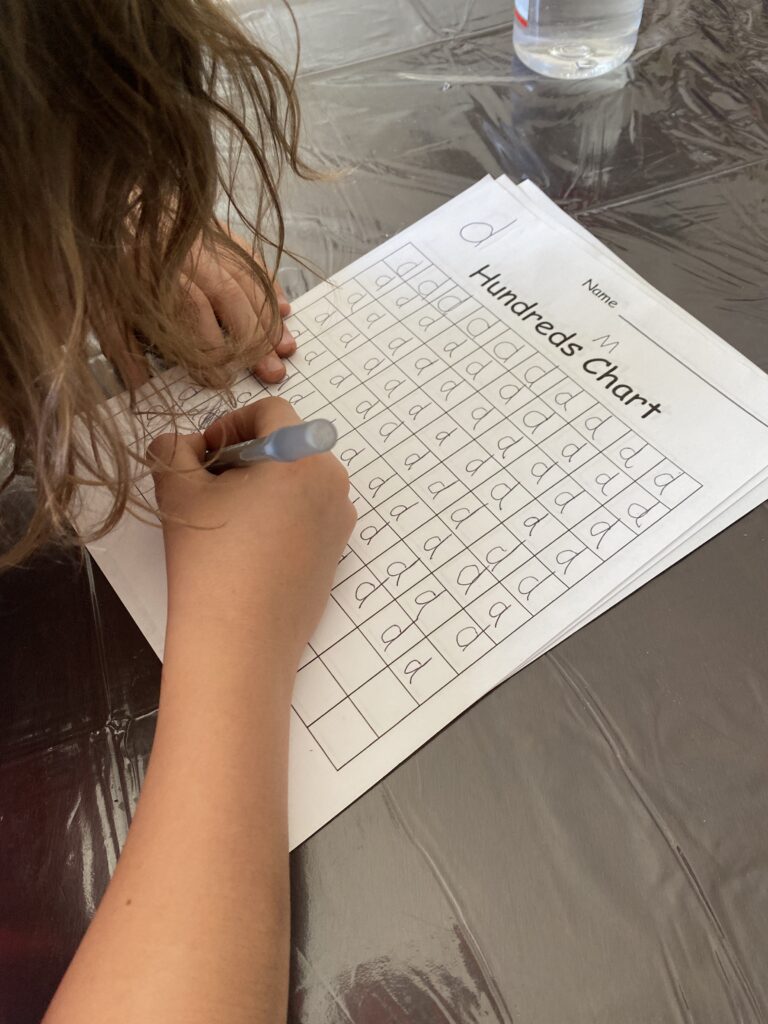
If you have 10 letters, you’ll complete one 100s chart for each letter. If you have 5 letters, you’ll complete two 100s chart for each letter. The student may need to practice some letters more than others, etc. Please note: 3rd Graders can EASILY complete three 100 charts in just a few minutes. This activity isn’t as arduous or daunting as it might seem. Have the student(s) complete 2-3 100 charts each day until they reach 1,000 points each.
Gathering Points
3. Third, gather points from the letters that they’re writing in their writing games, activities and stories. Now, this activity may feel arduous for the parent, teacher or tutor. HOWEVER, it’s so worth it because the kids are excited about the points that they’re earning!
Here’s how it works! Every time the student writes one of their focus letters correctly in a word or sentence, they get 2 points for it. If they still write the letters incorrectly, they have to rewrite those letters. Then, they get ONE point for each rewritten letter.
You can tally points as they write, or tally the points as soon as they’re done. Once you figure out how many letters they need to correct, write it down on a piece of paper and the number of times they need to write each letter again. For example, after reading all of the practice sentences that a student completes in any one activity, you might give him or her a page that looks like this:
20 o’s
16 a’s
28 d’s
11 g’s
9 h’s
The student will write 20 lowercase o’s next to 20 o’s, 16 lowercase a’s next to the 16 a’s and so on. Keep adding up the points until a single student gets to 1500 points or a team of students gets to 4,000. Then, CELEBRATE!
You’ll probably need to complete this activity and celebrate several times. Celebrations can be a pizza party one time and an ice cream party the next.
One 3rd Grader’s Experience
For one 3rd Grader, I set clear expectations for his handwriting. It was illegible and needed to be corrected. We wrote thousands of letters and then rewarded that hard work with a pizza party (his choice)! As we were eating the pizza, I pointed out to this student that we probably wouldn’t want a sloppy pizza delivered to our door. Imagine if we opened the box and the toppings were stuck to the top of the box, the cheese had slid off to the side, the pieces were torn or upside down. Yuck! We’d surely call, complain and ask for another pizza done right. It’s the same with handwriting. How we write is how we present ourselves and our work. We want people to be able to read what we have written. Handwriting is actually important.
So, write and reward as often as a student needs to write his or her letters correctly and confidently. Hard writing work is so important to their lives and future, thus, it deserves happy rewards!