These easy Easter art accents are highly motivating to writers and reward them for the work! In addition, they add color and charm to each child’s story.
Here’s a list of different art accents you can add to any writing prompt about Easter. These easy art accents are highly motivating to students and reward them for their work!
They also add color and add a charming look around their writing.
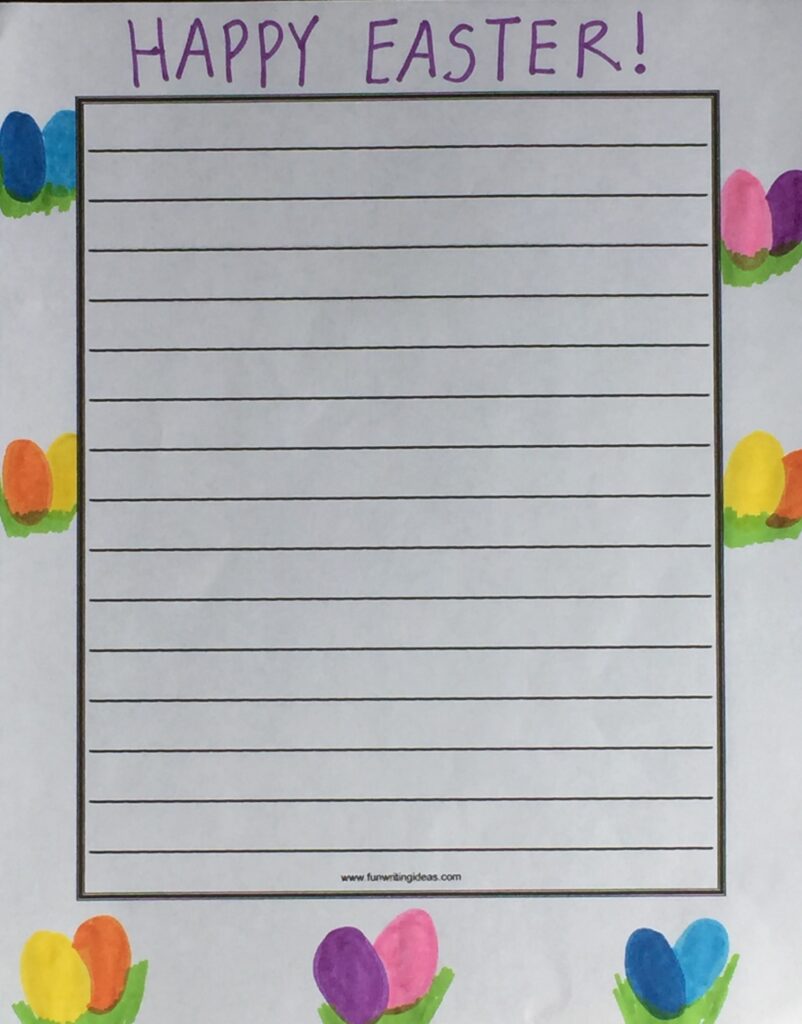
Bordered Paper
For all of my writing classes, students write on bordered paper. That way they can decorate the border around their writing with an art accent. You can print and use this paper as well. Here is the paper for Grades K-2 and Grades 2-7. Here’s a printout of a border with no lines to use with very early writers.
*This post contains affiliate links. For more information, see my disclosures here.*
6 Easter Art Accents
You can use any one of the following or combine some.
Markers
- Use markers to draw small Easter eggs or one big egg in the border.
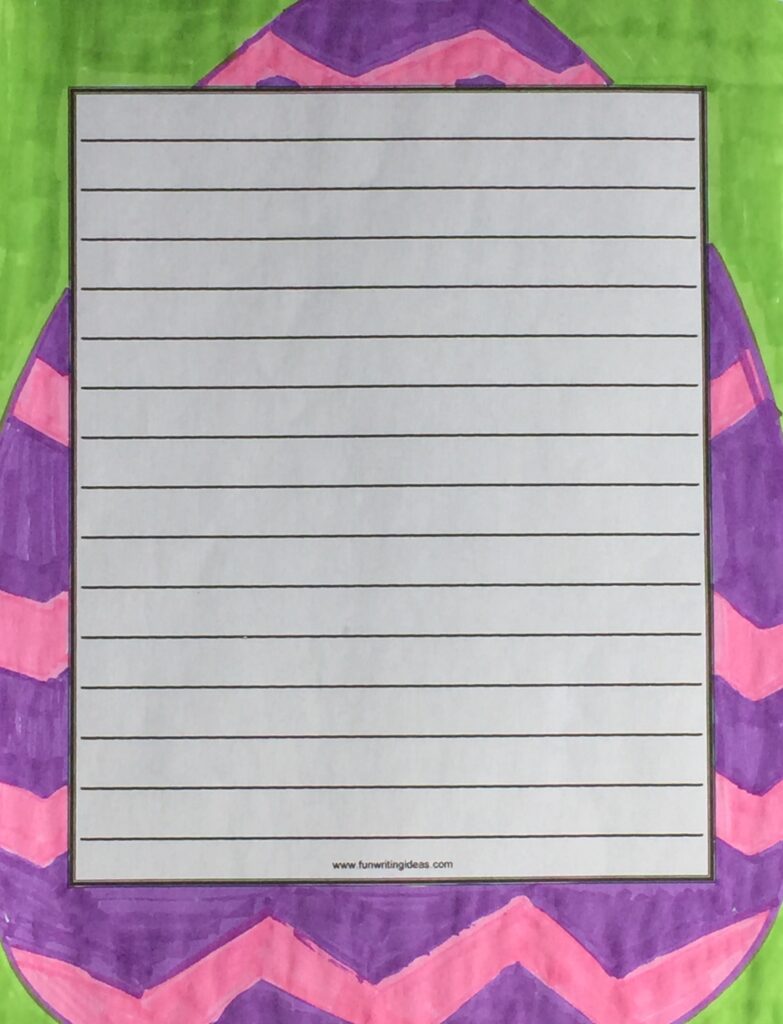
Here’s the sample of the small eggs for you to print and hang.
Here’s the sample of the large egg for you to print and hang.
Stickers
2. Use Easter Stickers. They are every where around Easter. As soon as Easter is over, grab a ton that are on sale to use the next year!
AN IMAGE IS COMING SOON!
Here’s a sample for you to print and hang. COMING SOON!
Crayon and Watercolor Paint
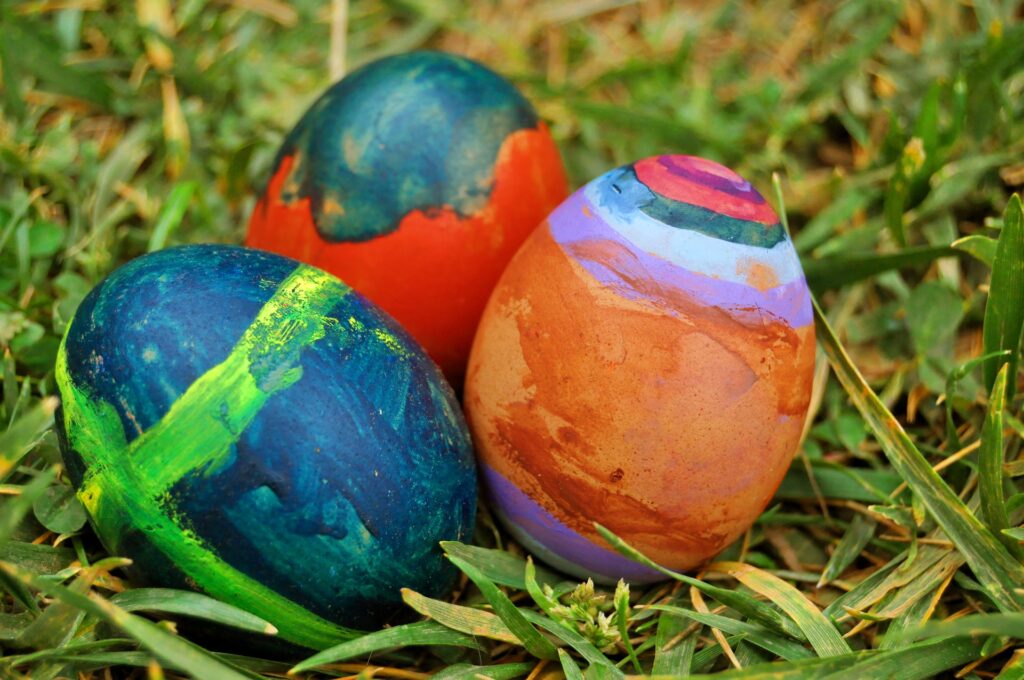
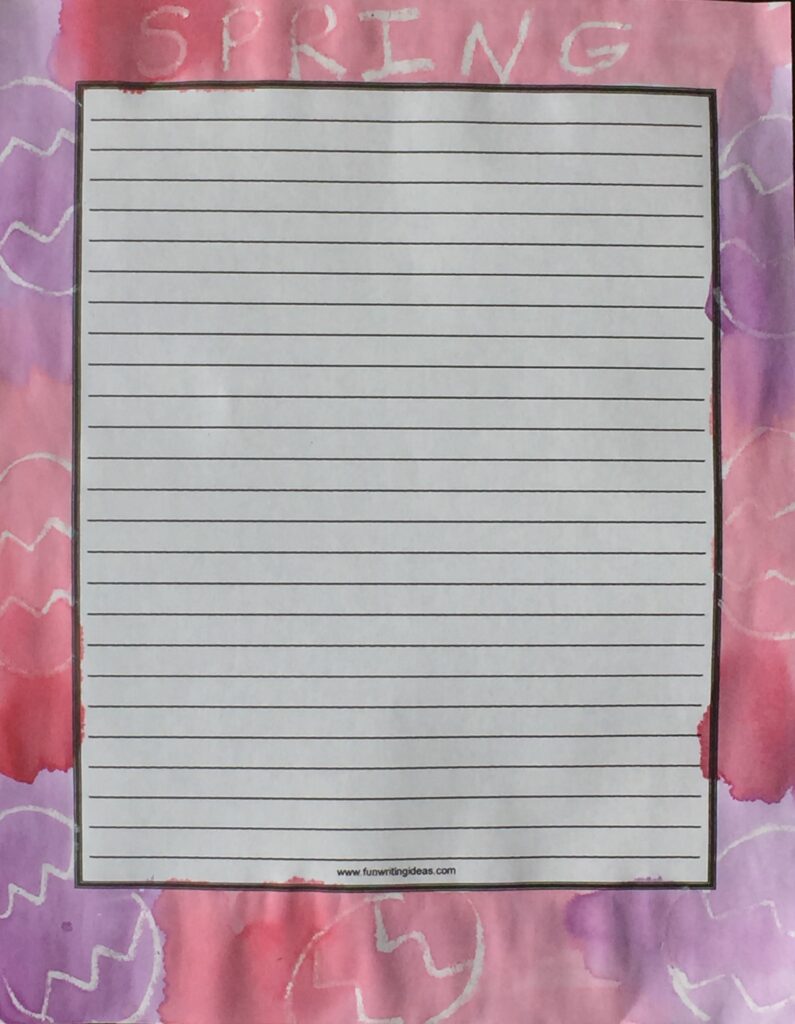
3. Use white crayon and red watercolor paint.

First, draw eggs around the border using a WHITE CRAYON.
It’s important to press somewhat firmly (without breaking the crayon) to make solid lines. In the image below, I drew eggs with black pen to show the students what to draw with their white crayon.
Then, paint over it with purple, pink, yellow or orange watercolor paint. Use whatever color you’d like your eggs to be! The white crayon shows through.
Glitter Glue
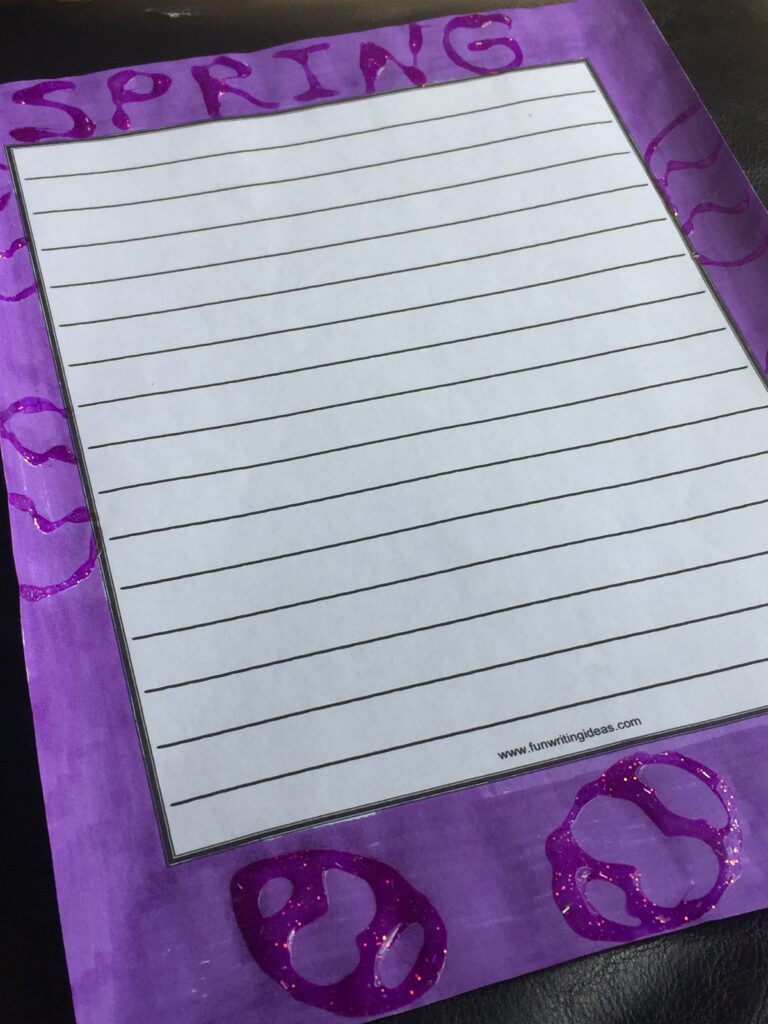
4. Use any color glitter glue on any color of marker.
First, use a marker to color the border. Use glitter glue to draw eggs around the border. Allow 12-24 hours for the glitter glue to dry completely.
I used purple marker and pink glitter glue. The image is dark. The actual page is nice.
Glitter
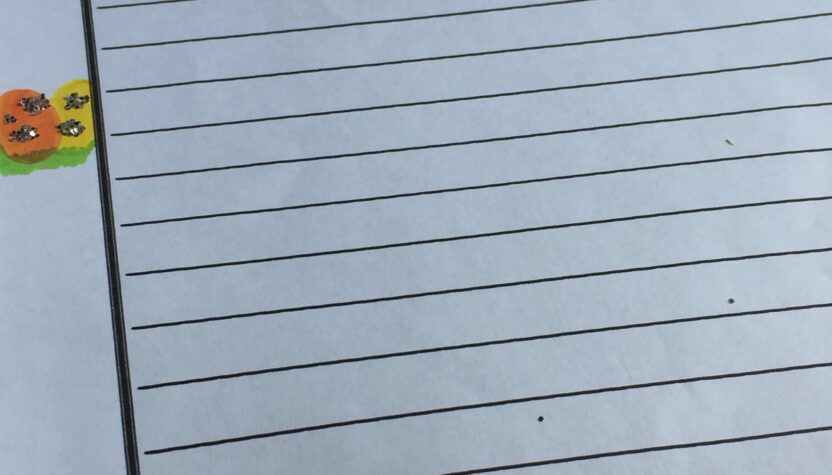
5. Add a little glitter pattern to the eggs drawn with marker. Place the story in a flat plastic container. Use Elmer’s glue wherever you would like the glitter to stick. Shake the glitter onto the spots of glue.
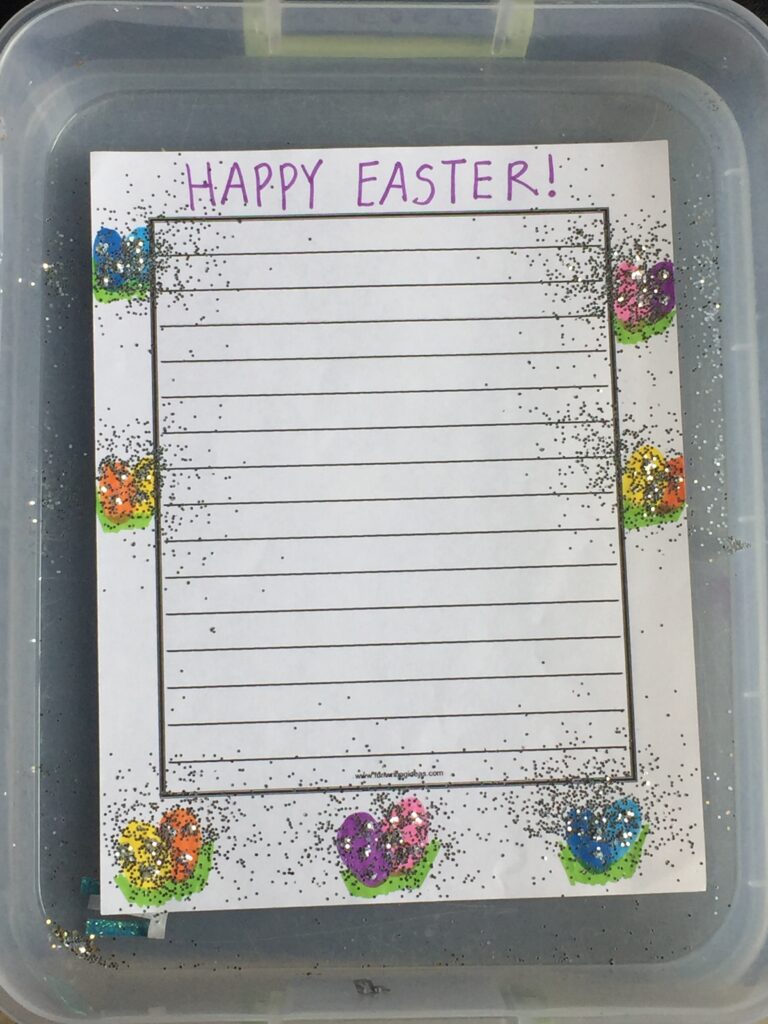
Shake the loose glitter off of the paper and into the container. Take the story out of the container and lay flat to dry.
Calendar Pictures
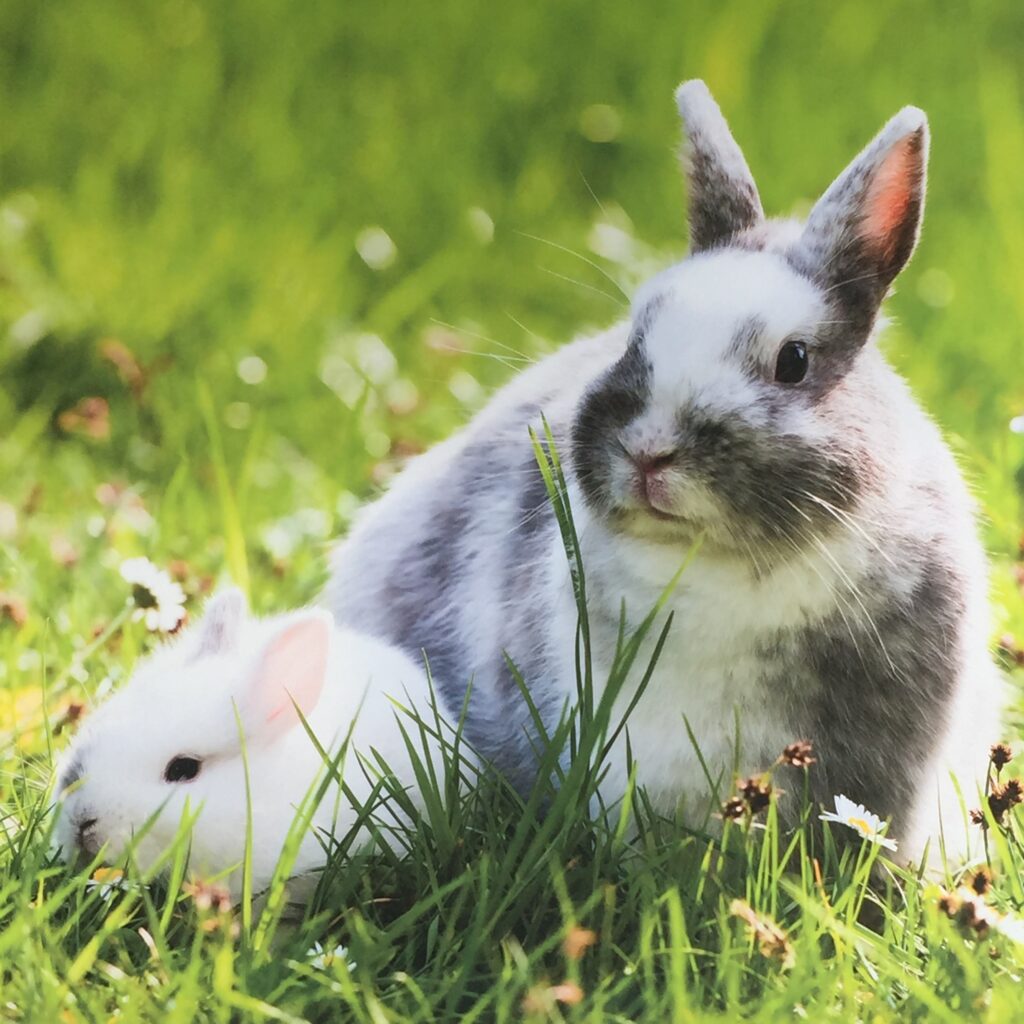
6. Use a calendar picture of flowers, chicks, goats, bunnies, what have you, to accompany a student’s story.