This easy beach art accent motivates students to write and rewards them for their work! In addition, it adds color and charm to any child’s story about the beach.
You’d be amazed at what a little sand can do for young timid writers! I haven’t done an official survey, but I’m pretty sure this is the most popular crafty art accent among my writers.
Calendar Pictures are the easiest and cleanest art accents that I use. Kids LOVE to choose a picture to write about.
However, adding sand to the border of their story really excites students. We used this art accent after completing our Beach Journal Writing Prompt.
*This post contains affiliate links. For more information, see my disclosures here.*
Bordered Paper
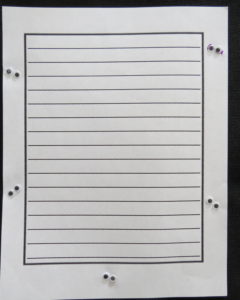
For all of my writing classes, students write on bordered paper. That way they can decorate the border around their writing with an art accent. You can print and use this paper as well. Here is the paper for Grades K-2 and Grades 2-7. Here’s a printout of a border with no lines to use with very early writers.
Card Stock
NOTE: Because sand is heavier than other art accents we use, printing out the lined paper on card stock is best for the beach art accent but not necessary.
Materials
Materials that you’ll need for this art accent are:
- Lined paper with a border. Here’s the paper I use for Grades K-2 and Grades 2-7.
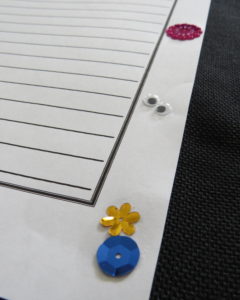
- Tiny googly eyes* to represent crab eyes.
- Sequins* to represent shells. You could glue shells* just as well!
- Sand from your neighbor’s sand box! If you need to purchase sand, sand from Amazon can work*.
Here are the steps!
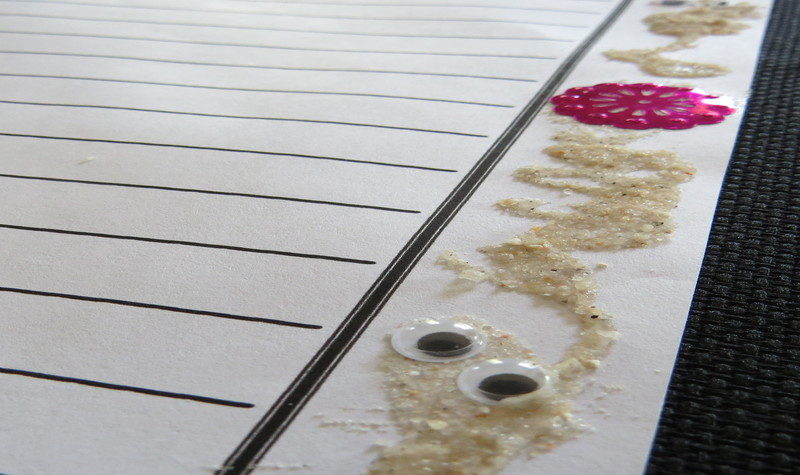
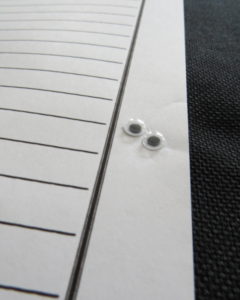
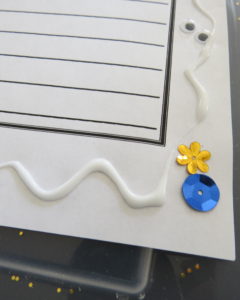
- First, glue pairs of tiny googly eyes* around the border to represent crabs. Here are self-adhesive googly eyes from Amazon*.
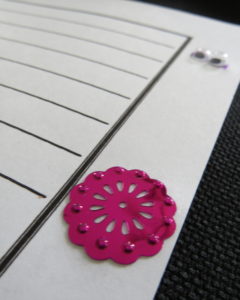
2. Next, glue shiny sequins* around the border to represent shells. Using glue dots* works best when gluing sequins, but glue can work also.
3. Place the paper in a plastic container to catch the sand.
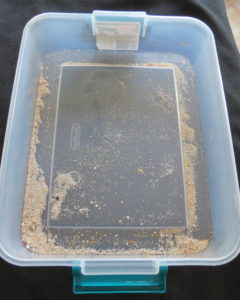
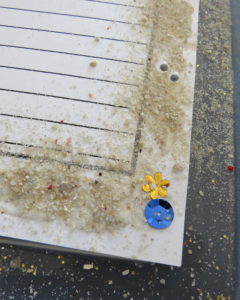
4. Line the empty spaces in the border with Elmer’s glue, then spread the glue.
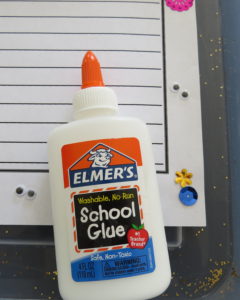
5. Sprinkle sand over the Elmer’s glue.
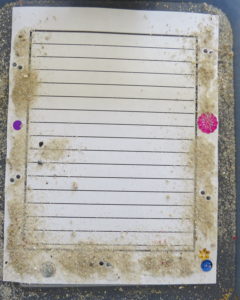
6. Pick up the paper to shake off the loose sand!

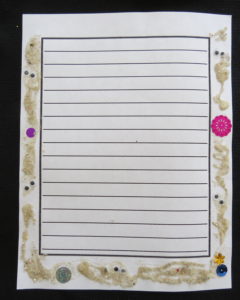
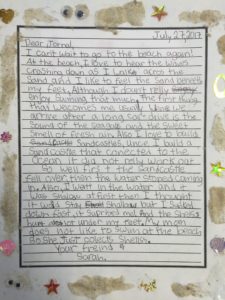
Here’s a sample for you to print out and hang.
Check out this student’s completed work!