Use these 10 strategic steps to help children learn to write. These incremental steps help children become comfortable and confident writers.
The ages mentioned show you how early you can start. However, the ages aren’t as important as the order of steps. Begin when you and your child are ready!
Time Frame
Each of these writing activities lasts no more than 30 minutes. It’s so important that you sit next to your child during these activities. The time you spend with your child now, can produce a confident and independent writer which will save you a LOT of time later.
Drawing With Your Young Child
If you haven’t read Drawing With Your Young Child Has Long Term Benefits, you will want to do so first.
Once you’re child has developed a routine of drawing regularly, you can start turning their drawing strokes into letter strokes. For a full explanation of the importance of proper letter strokes, click here.
Store Your Child’s Drawings in a Binder
At this point, you can start storing their drawings in a binder to use for writing and reading later.
*This post contains affiliate links. For more information, see my disclosures here.*
Now to write!
10 Strategic Steps to Help Children Learn to Write
1. FOCUS ON THE LETTER ‘O’
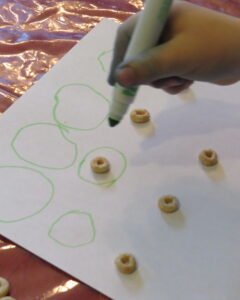
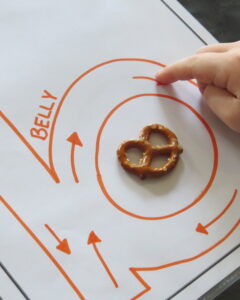
This is a continuation from when you taught your child how to draw circles. Always start at the top, draw counterclockwise to complete the circle that forms the letter “O”.
Learning the letter “O” right off the bat makes it easy for children to learn the capital letters C, G, Q, S and the lowercase letters a, c, d, g, o and q.
Read A Circle Summer to find a list of ideas for practicing the counterclockwise circle.
2. DRAW CAPITAL LETTERS
Beginning at age 3 or so, intermixed with regularly drawing, start showing your child how to draw capital letters, top to bottom, left to right. Draw the letter yourself. Then, give your child a chance to write the letter. Say the strokes for him or her, such as, “down, cross the top, cross the middle” for the capital letter F.
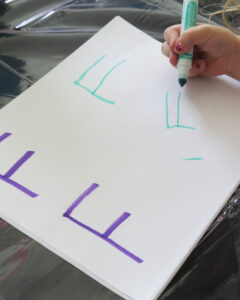
The size of the letters doesn’t matter at this stage. They can be HUGE! What’s important is that the child is forming the letters with proper letter strokes.
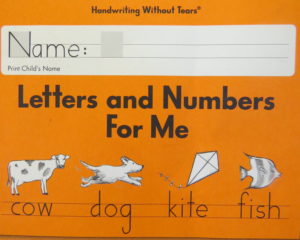
Handwriting Without Tears
Handwriting Without Tears is a great workbook, if you’d like to purchase published material on letter strokes.
A Small Whiteboard
As your child builds stamina, have him or her draw each capital letter once a week. This can be done all in one day if your child is interested, or over the course of a few days (4-5 letters a day). My children did this on a small whiteboard. I had my own small whiteboard also.
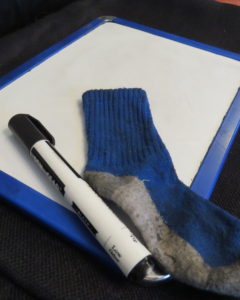
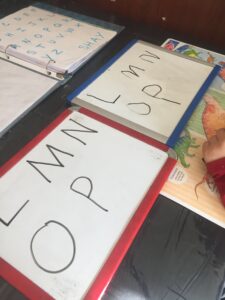
They can be purchased for a dollar at Dollar Tree or $1.97 at Walmart during their summer back to school sale. For teachers, you can buy a class pack on Amazon*.
Your Child’s Name!
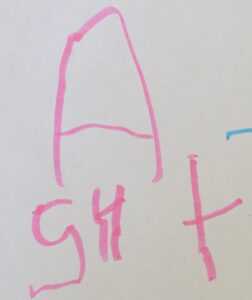
Show your child how to write his or her name. They will find their name most fascinating. Say each letter as you write it. Make sure each letter stroke is written top to bottom, left to right and that circles start at the top and are drawn counterclockwise.
Letter Sounds
Lastly, when you are teaching your child how to write capital letters, you can say the sound the letter makes. This is an easy and natural way to start teaching your child letter names and sounds which will lead them into writing and reading. If you want additional support, www.starfall.com is a great website that teaches children letter names and sounds.
3. LABEL DRAWINGS WITH BEGINNING LETTER SOUNDS
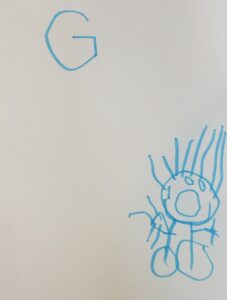
By now, your child is drawing, talking about the drawing, writing capital letters and hearing letter names and sounds.
This is a good time to have your child say the word of something he or she has drawn and decide which letter makes the first sound.
For example, the word BOAT—B is the first sound. Have your child write a capital B next to his or her boat, or C next to a cat, or S next to the sun and so on. Store the drawing and writing in a binder to read and review later.
4. WRITE 3 LETTER WORDS-Consonant-Vowel Consonant
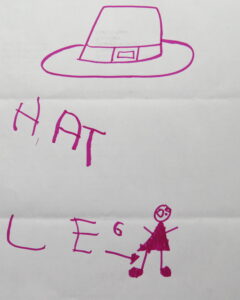
Now is a good time to begin introducing short vowel sounds.
CAT, HAT, MAT, PAT, RAT, SAT: I’m sure this spelling pattern is extremely familiar to you. However, you may not have heard it call the CVC pattern. CVC means the word begins with a consonant (C), has a short vowel (V) in the middle and ends with another consonant (C).
Short Vowel Sounds
Begin by showing, speaking, writing and drawing the 5 short vowel sounds.
A for APPLE, E for EGG, I for IGLOO, O for OCTOPUS, U for UMBRELLA
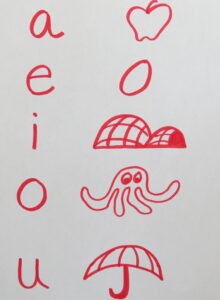
I sketch the above image for the child as I say each letter, sound and word. They watch me draw it and doing so seems more engaging to them than me pointing to a pre-drawn worksheet. You can draw your own version or browse and find an advanced image here.
Then, have students start writing CVC words. Begin with the short A sound:
CAT–HAT–RAT–SAT
MAN–PAN–RAN–VAN
DAD–HAD–SAD etc.
Next, continue with the short:
- O, as in HOT–POT–MOM
- E, as in WET–NET–PET,
- I, as in BIG–DIG–WIG.
- U, as in UP–CUP–PUP etc.
Working with students, slowly say each sound of one word, C-A-T. The child writes each letter as you say it’s sound. In one sitting, the child may only write 1, 2 or 3 words. The more they practice, the more words they can write at a time.
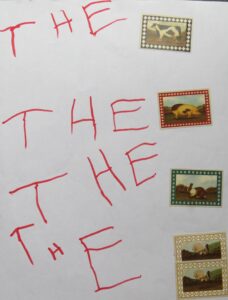
5. WRITE the THREE ARTICLES, A, AN and THE
Children enjoy this activity because after they write an article, they get to place a sticker. Start with the article A. Teach the child that the letter A can be a letter OR a word. Show the child the words A DOG or A CAT.
Have the child write the word A, then place a sticker of a noun. After a week or two of practicing the word, “A”, move to “AN” and “THE”.
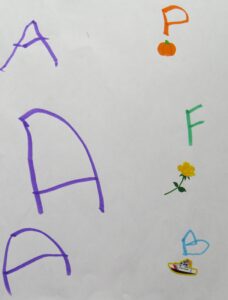
In the previous step, children learned to write the beginning sound of words. You can take this activity a step further and have the child write the beginning sound of the sticker like the example above, or leave this step out like the samples below. Work according to the interest and stamina of the child!
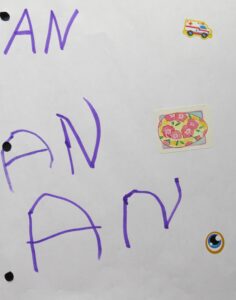
6. LABEL PICTURES WITH WORDS

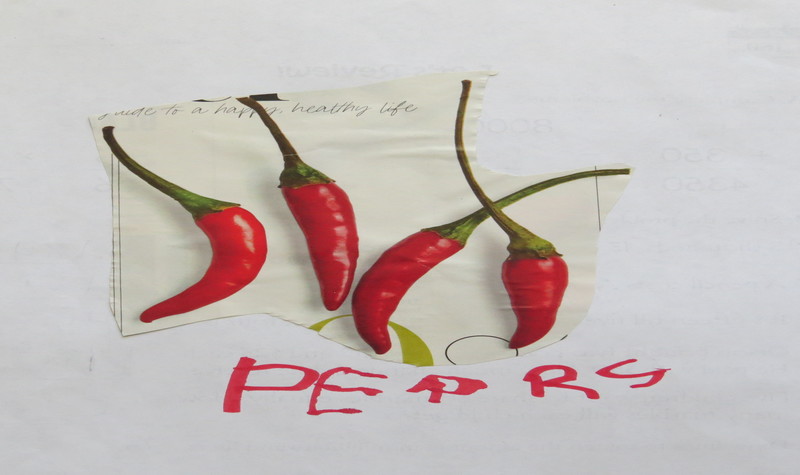
You can do this activity on a drawing that your child has done. Or, more simply, you can cut out magazine pictures, use calendar pictures or stickers. Have your child phonetically spell words that are in the drawing or the picture.
Phonetic spelling means that your child writes all the sounds that he/she hears in the word. The word most likely won’t be spelled correctly. The goal is for the child to slowly say the word and write the sounds he/she hears. Store the drawing and writing in a binder to read and review later.
7. BEGIN WRITING SIGHT WORD SENTENCES
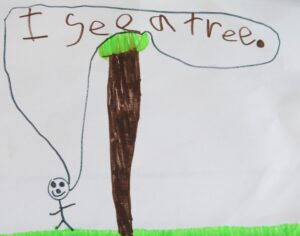
Next, use sight word sentences to help children learn to write. I have found writing sight word sentences to be the easiest and most effective spelling strategy for parents and teachers to conduct and students to complete. I explain how to begin this spelling strategy most simply in my post titled, “An Easy and On-Going Spelling Strategy.”
How Sight Word Sentences Work
In short, the child writes a sentence such as “This is a ____” or “I see a ____.” under his/her drawing on the same page or on a second page.
The sight words, also called high frequency words, should be spelled correctly. Those are words that the child is learning and practicing.
The blanks are for words that are spelled phonetically, which is writing the sounds in a word and not necessarily spelling the word correctly. Store the drawing and writing in a binder to read and review later.
8. DRAW LOWER CASE LETTERS
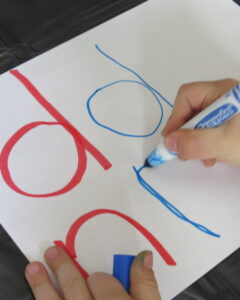
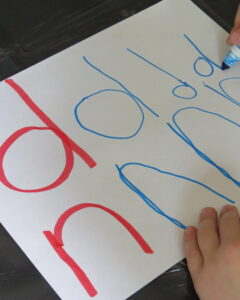
Beginning at age 5, or earlier, if your child is ready, you can start “drawing” lower case letters with him or her. Speak out the strokes. For example, say, “circle, stick” for the lowercase d.
Speaking Letter Strokes
Here is a list of verbiage I have used when teaching proper letter strokes. Again, if you’d like to purchase a workbook, I definitely recommend, Handwriting Without Tears.

Keep in mind, that it’s very common for Kindergartners and also 1st Graders to mix capital letters in with lower case letters in their writing.
The key is to help them develop a habit of writing all of their letters with the proper letter strokes. It will make their lifelong writing easier and more fluid.
Lowercase b and d Reversals
At this point, your child can start clearing up the lowercase b and d reversal. Check out my post Lowercase b and d Reversals: Clearing up the Confusion. It contains two fun phrases to help children clear up the confusion between b and d. Moreover, each phrase comes with a simple, fun and rewarding challenge!
9. WRITE 2-3 SENTENCES
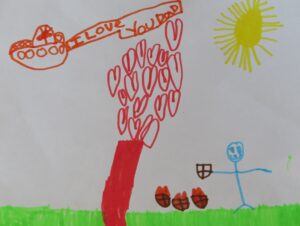
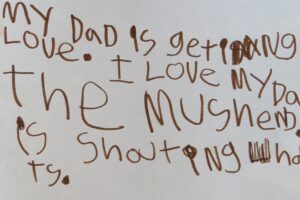
Here, the child writes 2-3 sentences about a drawing, magazine picture, sticker or calendar picture. The sentences can be as simple as, “This is a _____. It is ____. It is _______.” or complex and creative. The sentences above say, “My dad is getting love. I love my dad. The machine is shooting hearts.” Store the drawing and writing in a binder to read and review later.
10. WRITE A STORY!
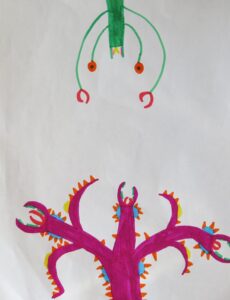
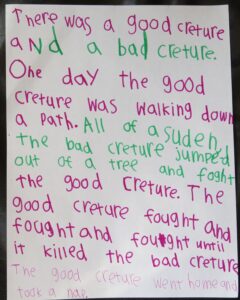
Lastly, children write stories. At this point, the child knows letter sounds and can phonetically spell unknown words. In addition, the child knows how to write a list of sight words.
In short, using those two skills, the child can write most of what he/she would “say” if telling a story out loud. Allow your child many opportunities to write stories using these two skills, spelling sight words correctly, and phonetically spelling unknown words.
Print the 10 Steps!
Here are the 10 Steps for you to print and use!
Guided Writing Prompts
Continue building confidence in your young writer by using the guided writing lessons that I’ve posted on this website. Be sure and store his or her stories in a binder to read and review later!
Binders
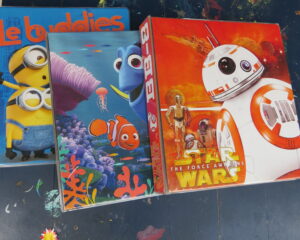
A binder full of a child’s own stories quickly becomes a prize possession. Following these 10 steps to help your child learn to write may form the first book your child actually reads.
That’s what happened in my Kindergarten classroom and why I love binders so much! Read my complete story about binders here!
