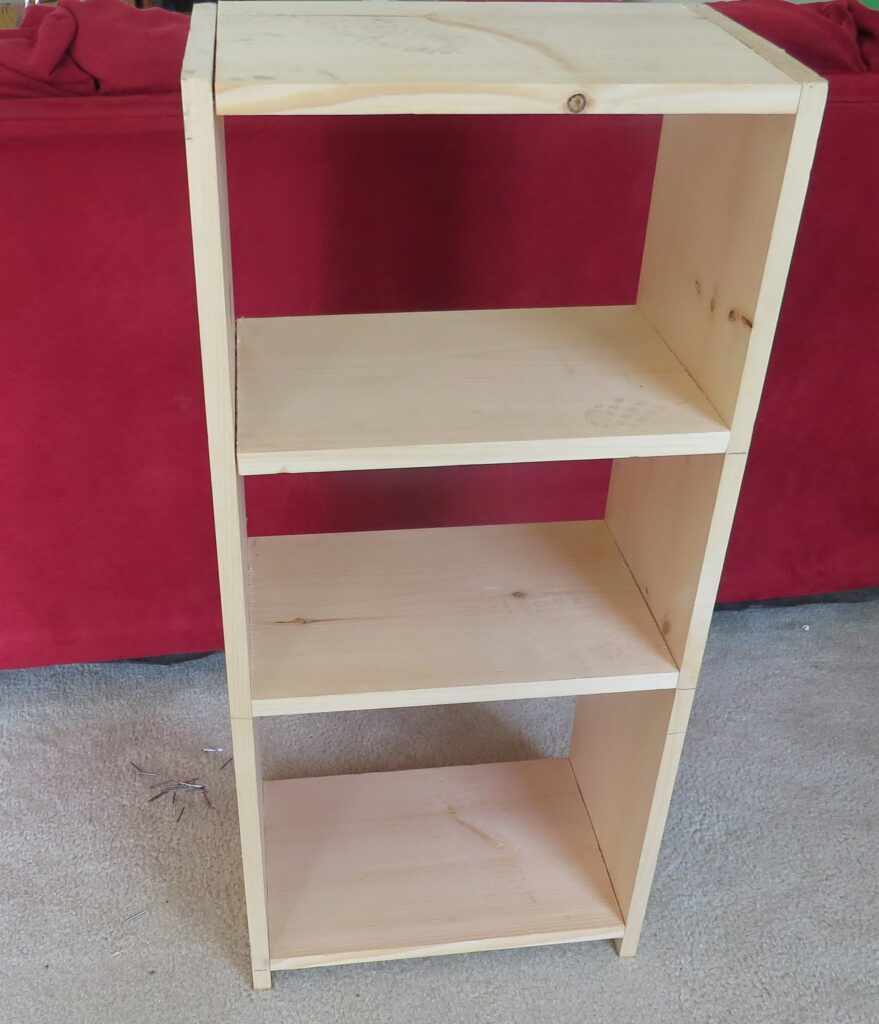
Kids love to build this simple shelf! In this post, I’m going to show you how to build a super simple shelf with your kids. Then, your child can write their opinion about the building process and their shelf! This building project is super easy and something that kids can enjoy and be proud of. In the end, they’ll have their own handmade shelf.
Writing An Opinion
When your child is done building they can write their opinion about the process. The guided writing lesson will be at the bottom of this post. From the writing teacher herself, though, I will say that if you can’t find time to complete the writing, don’t let that stop you from making time for the building! I posted this more for the building than the writing.
Ages 4 and Up
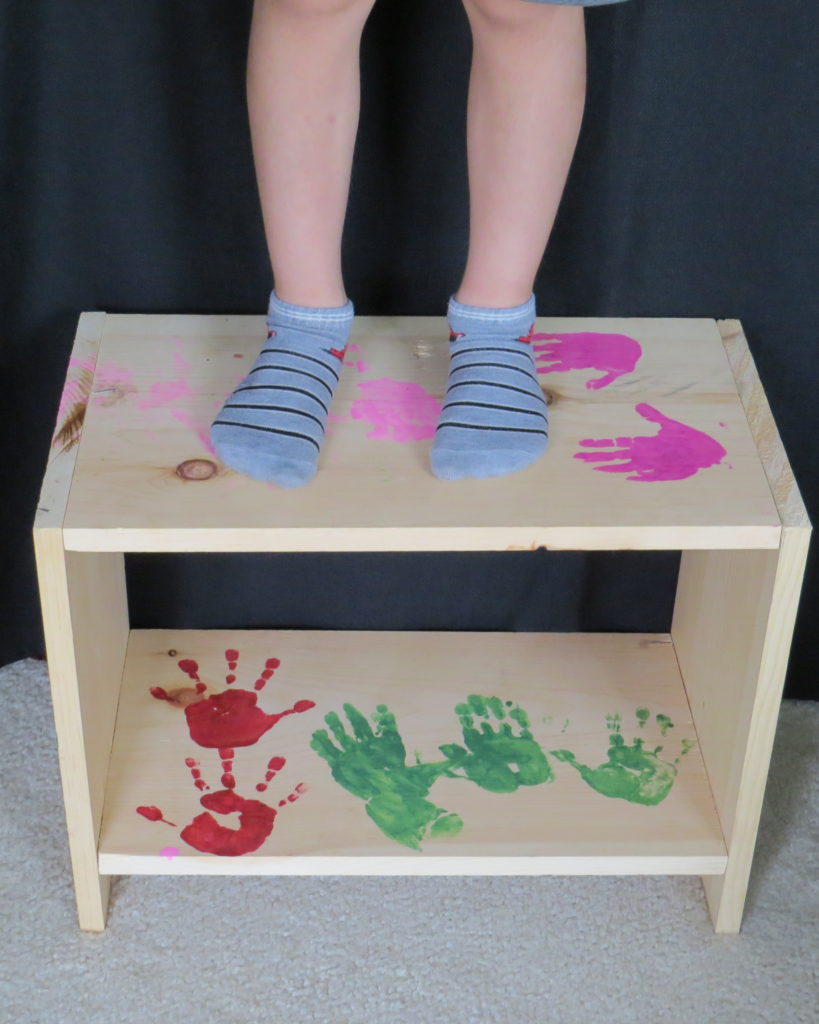
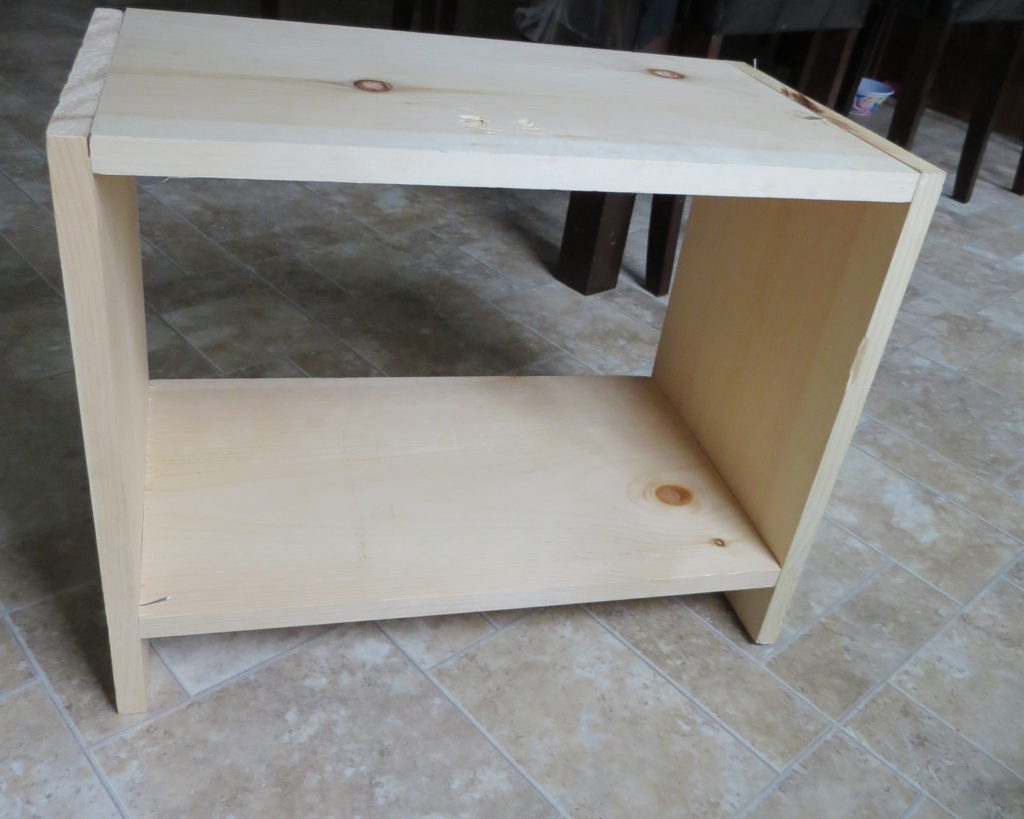
This simple shelf building project for kids is recommended for ages 4 and up with adult help and supervision. The final shelf will be sturdy and a great place to store puzzles, books, toys, shoes, etc.!
HERE’S WHAT YOU NEED:
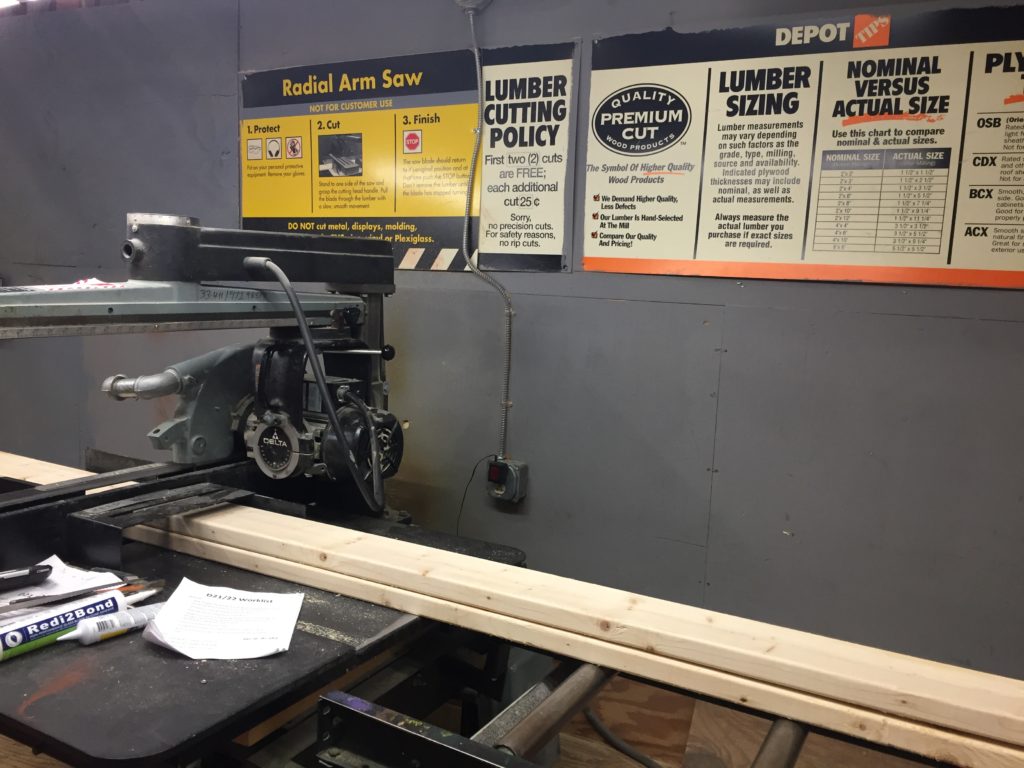
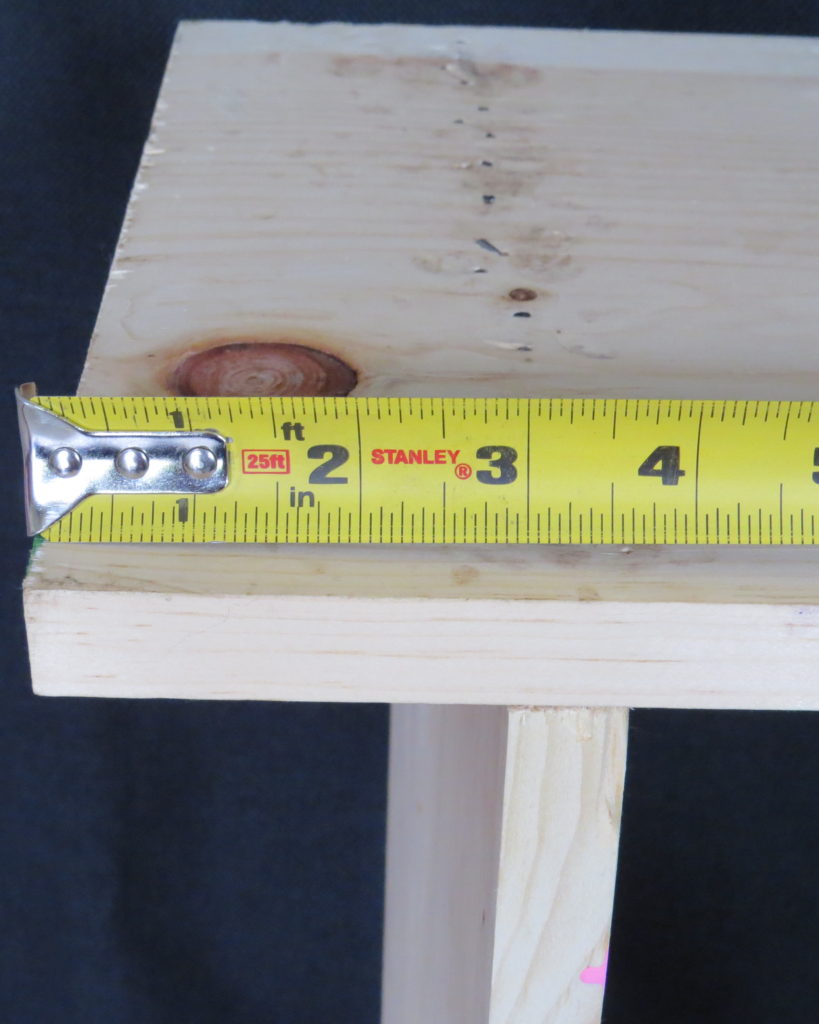
- First, ONE board that is 12 inches wide, 6 feet long and 1 inch thick from Home Depot. ($15.97 each)
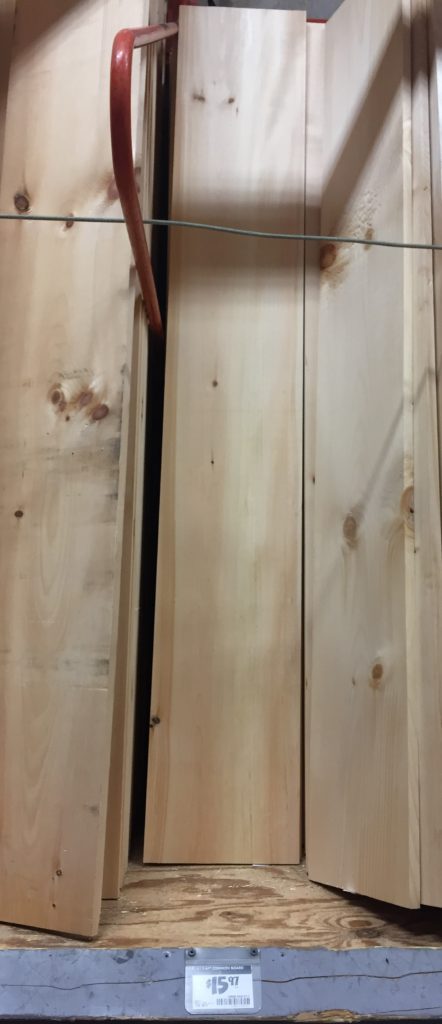
Note: While the store will say it’s 1 inch thick, the board actually measures ¾” thick.
Also, while it says 12” wide. Sometimes it measures 11” wide.
Have an employee cut the 6 foot long board into 2 pieces that are 16” long and 2 pieces that are 19” long.
| 16” | 16” | 19” | 19” |
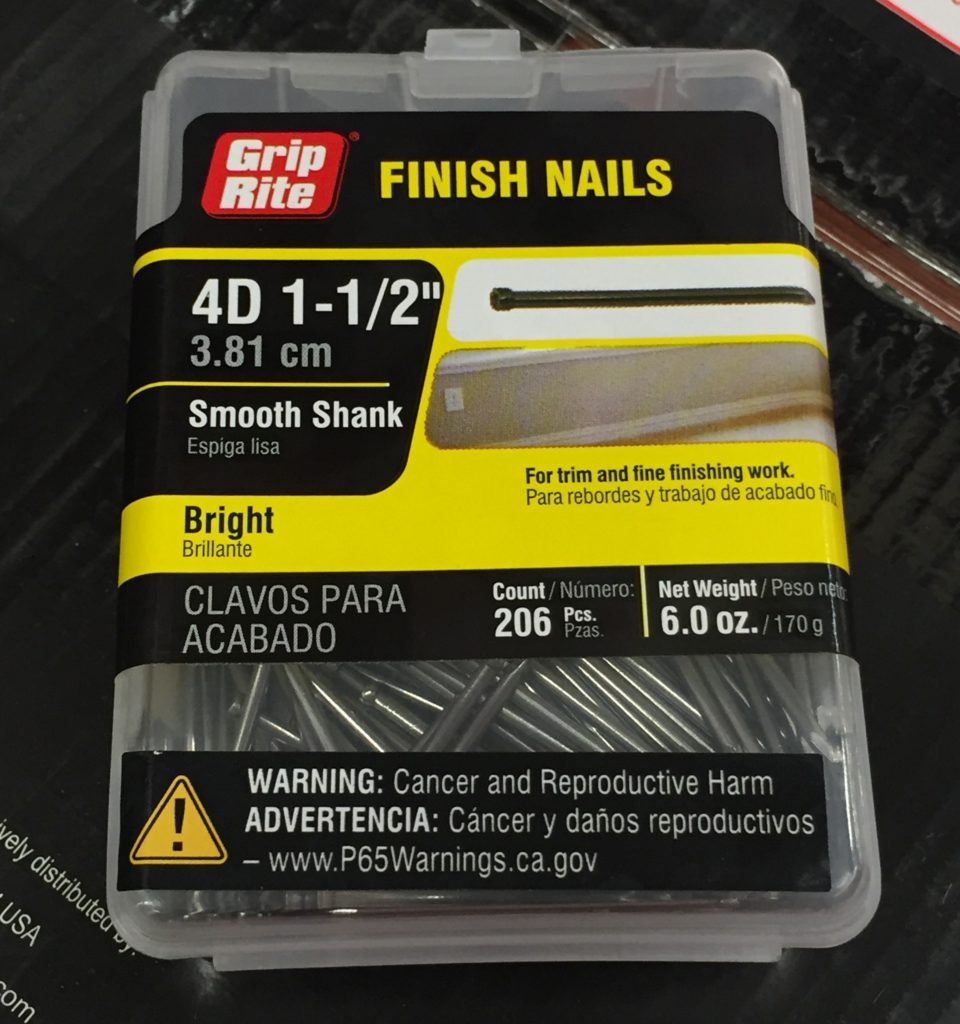
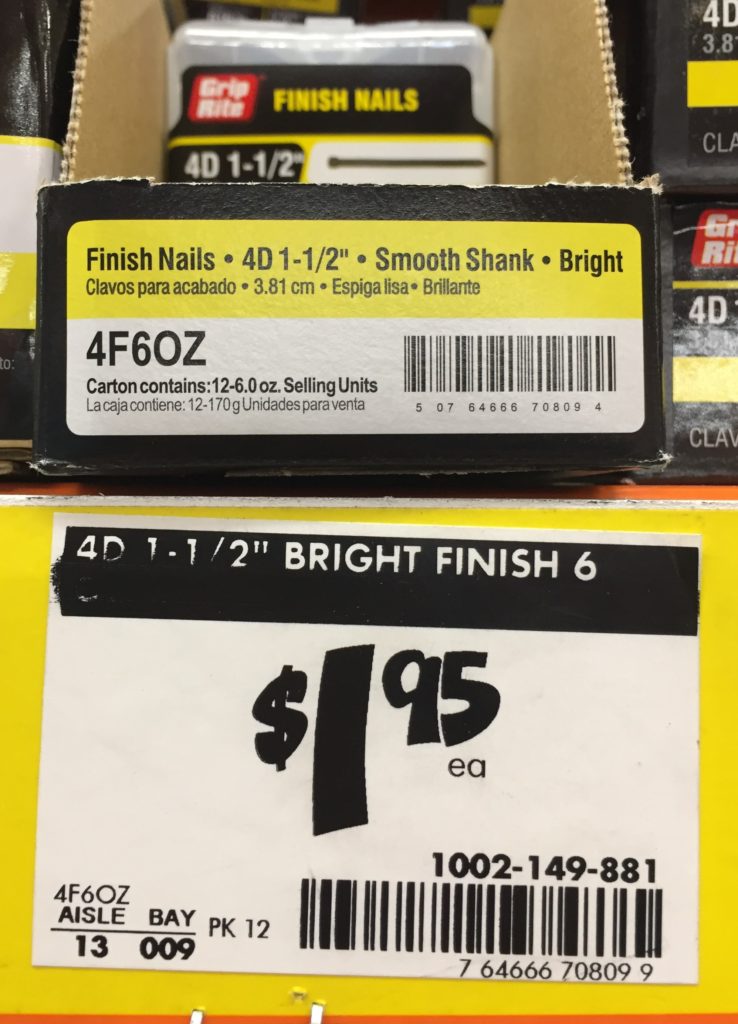
2. Second, a box of 1 1/2″ finishing nails ($1.95 each)
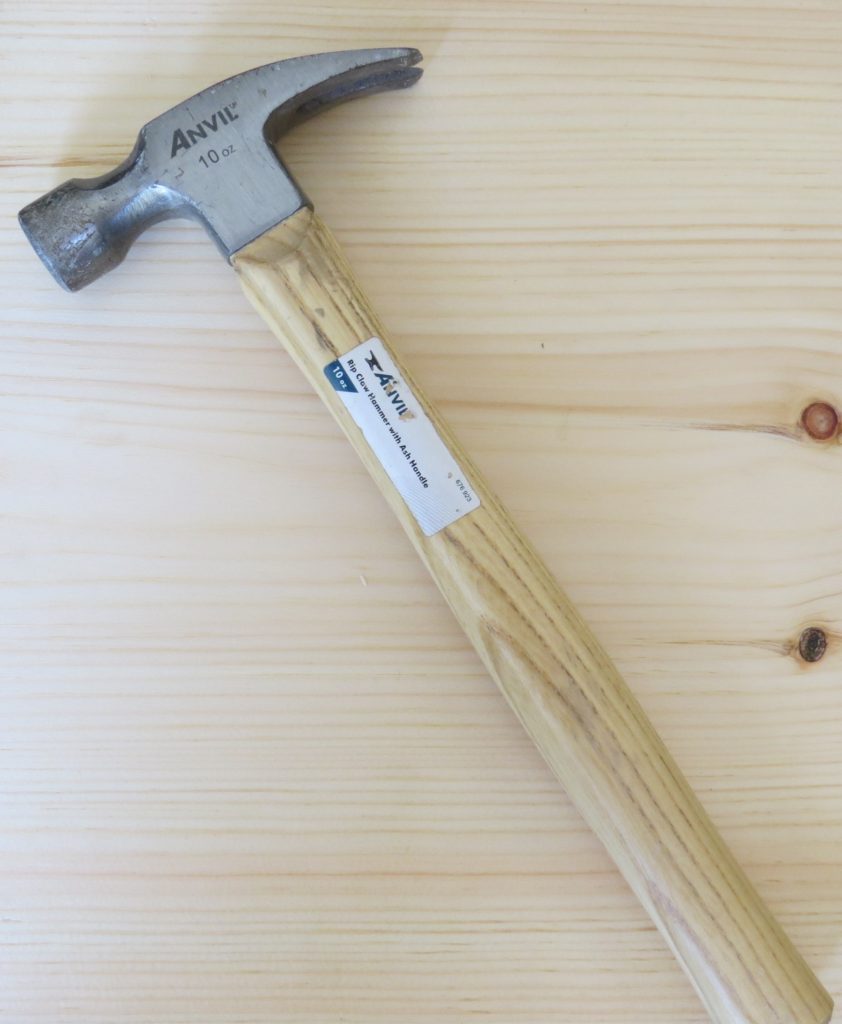
3. Third, a light weight hammer ($4.73 each)
HERE ARE THE STEPS:
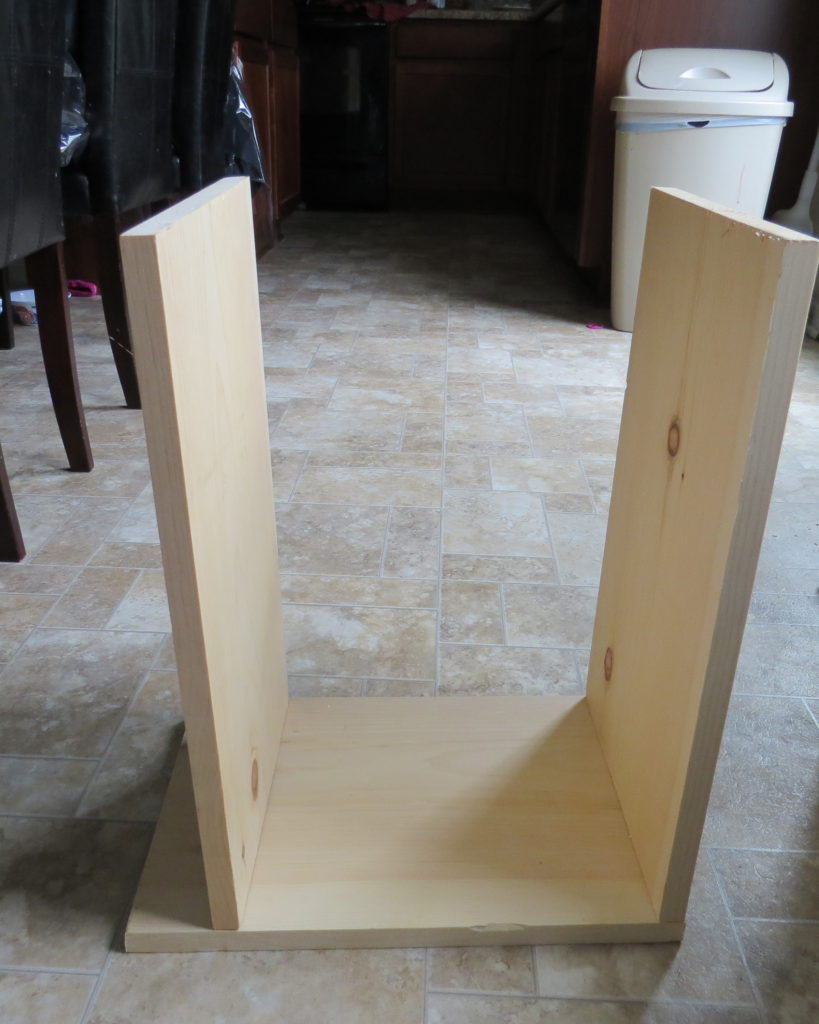
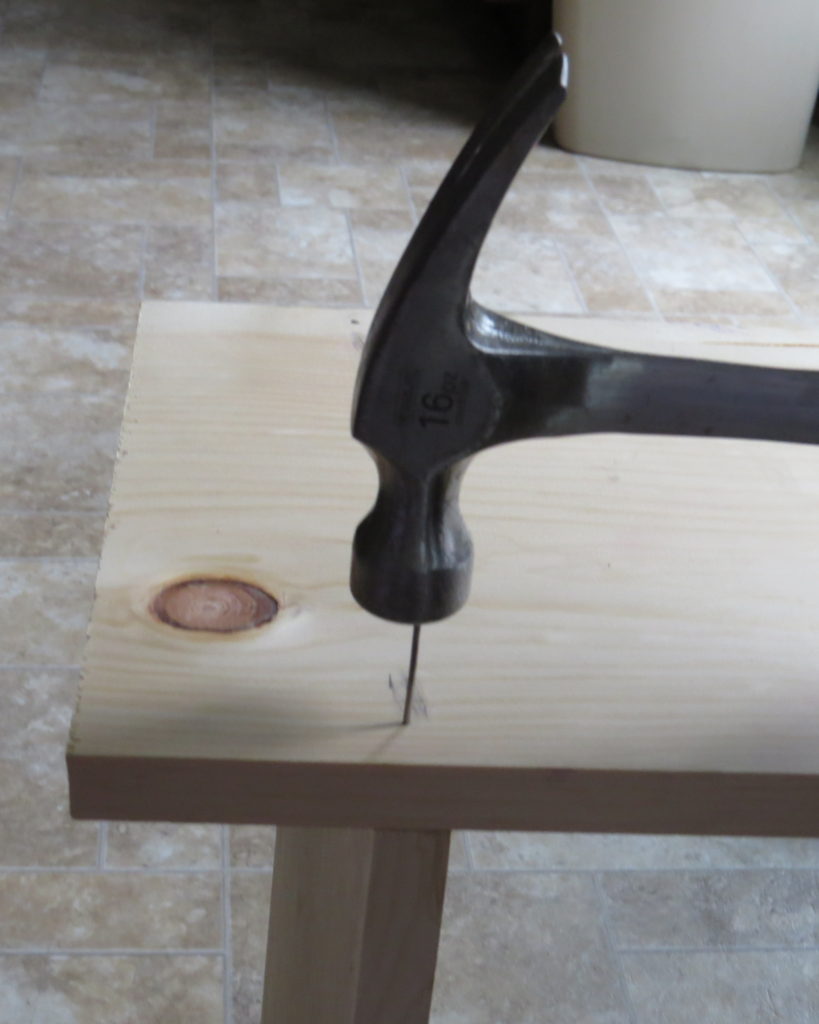
- The first step is the hardest step. Take one 12” x 19” piece and stand it up vertically. Take one 12” by 16” piece and place it horizontally so that the edge of the board rests on top of the 1st board. Have the child hold the top board steadily while the adult hammers in the first nails (see step #2).
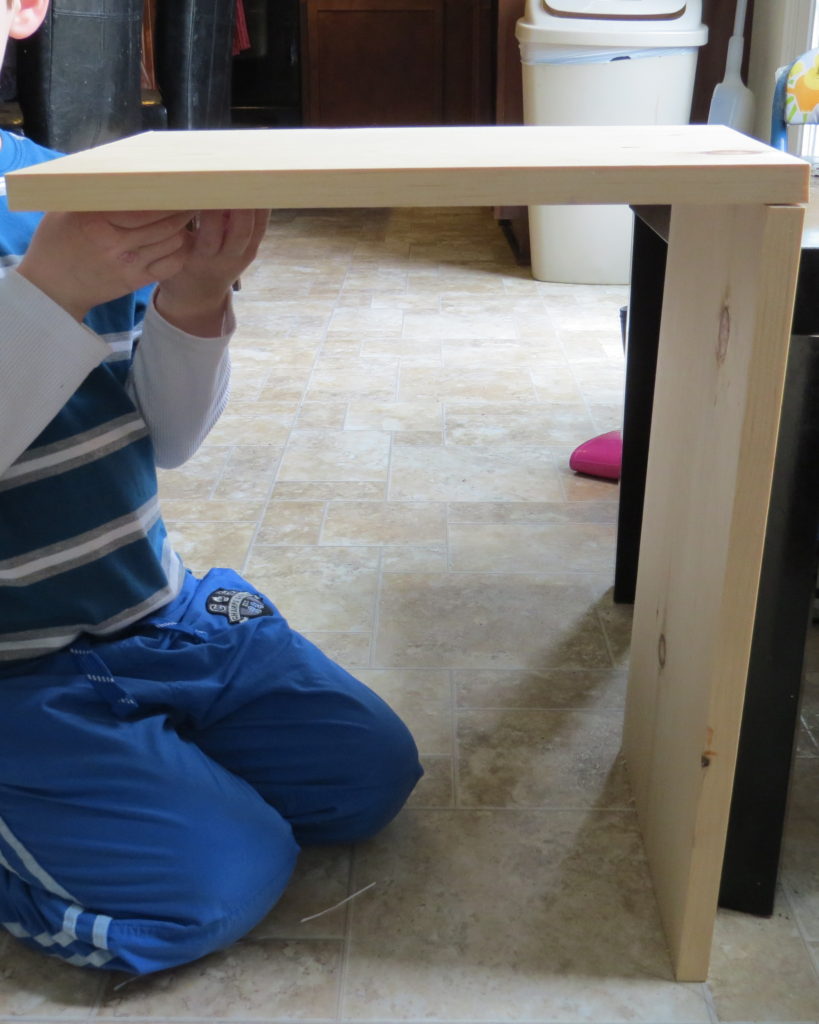
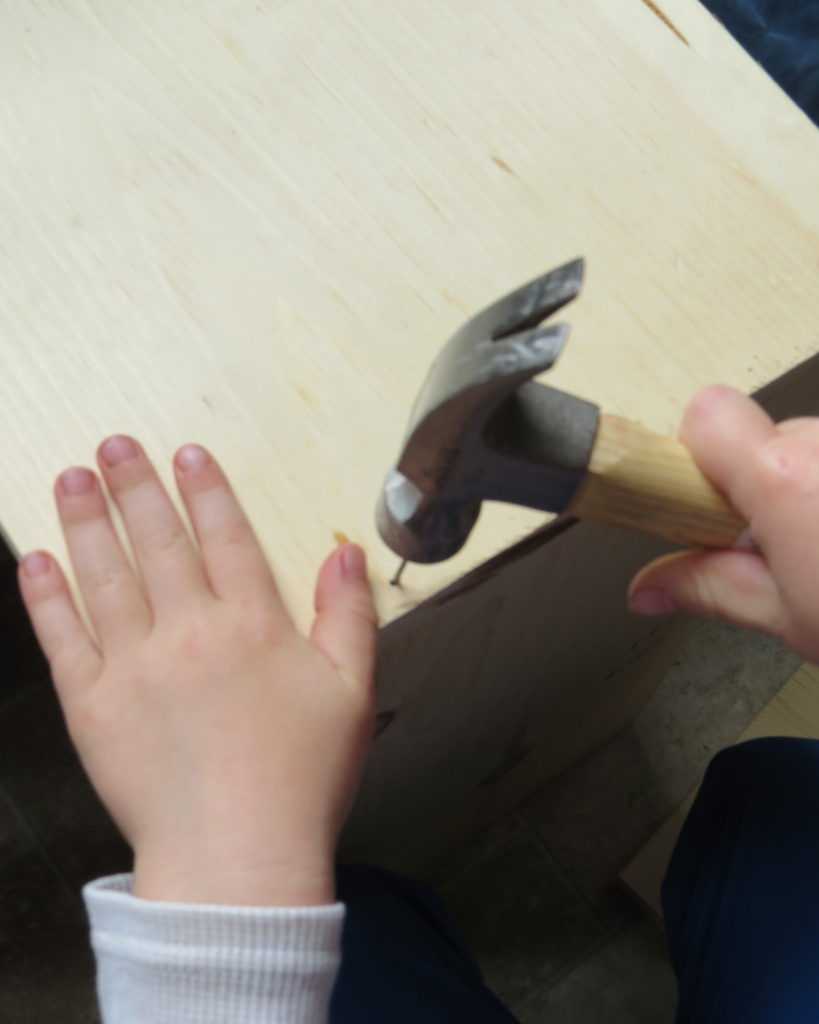
2. Next, hammer in one nail on each corner.
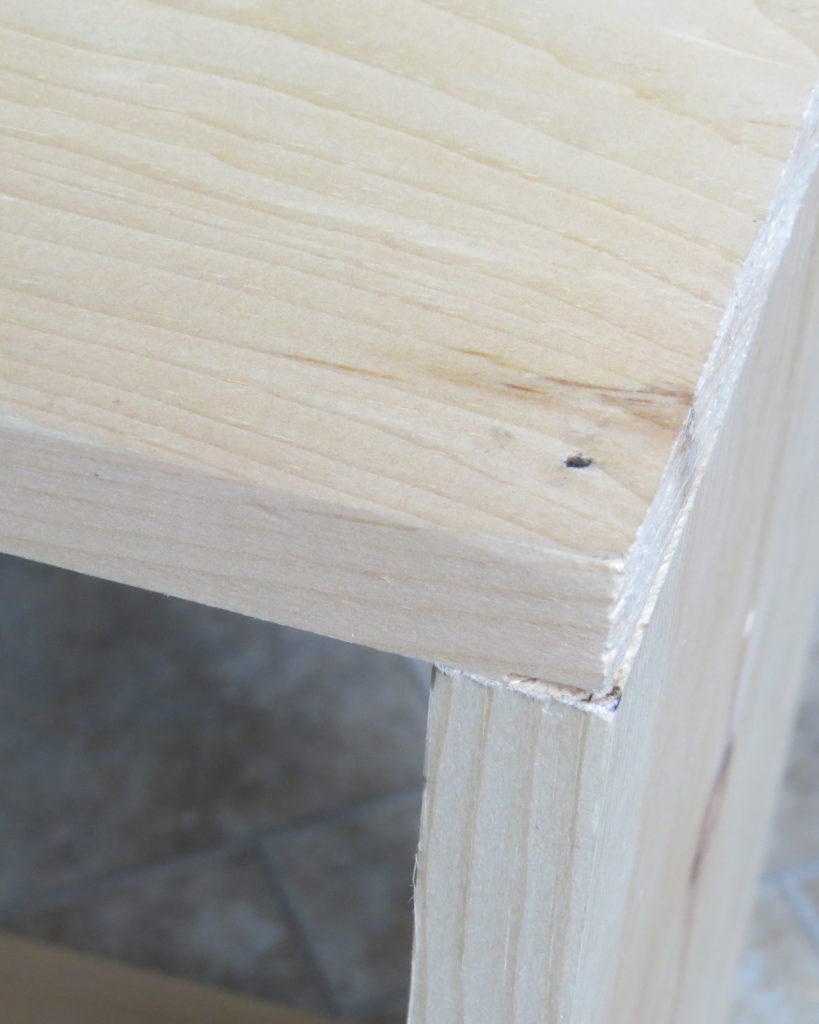
Once the first two nails are in, the adult can hold the top board steadily while the child hammers in the remaining nails along the edge. The child can add 5-10 nails.
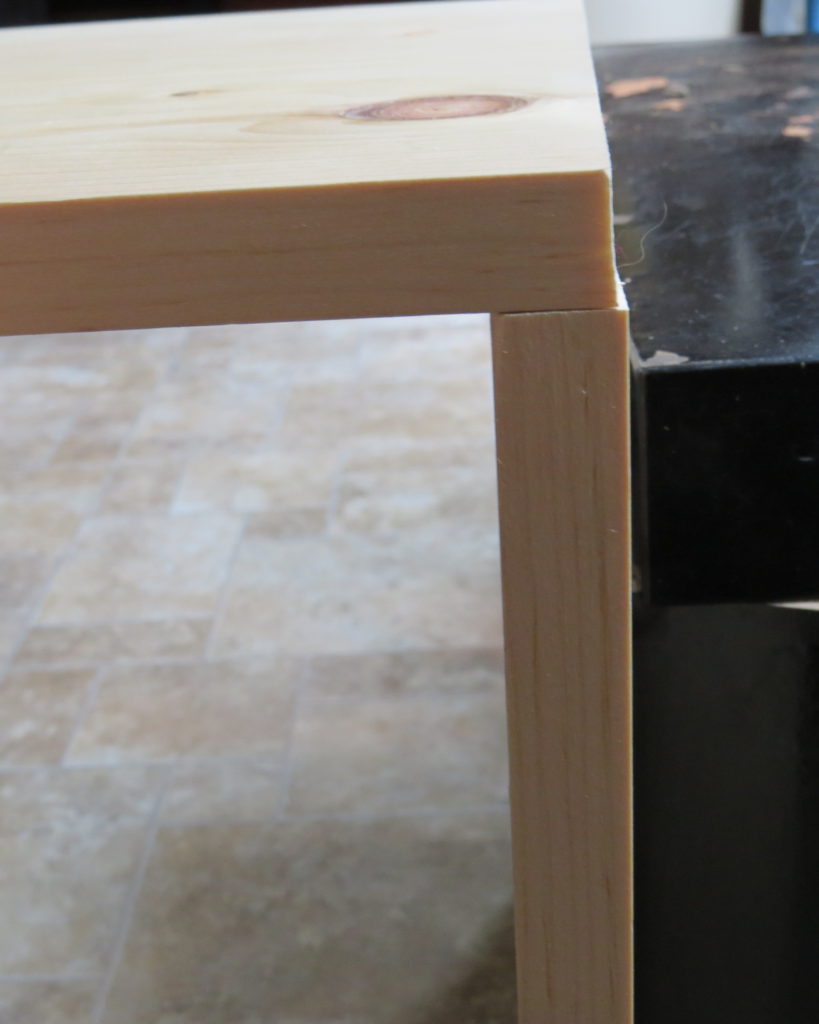
3. Then, measure 3 inches from the left edge of the horizontal board.
Place the second 12”x 19” board under the horizontal board so that it is 3“ from the left edge.
Hammer in one nail at each end of the board. Then, have the child hammer in 5-10 more nails between the first two nails.

4. Next, turn the shelf upside down. Rest the second 12”x16” piece on top of the two vertical pieces.
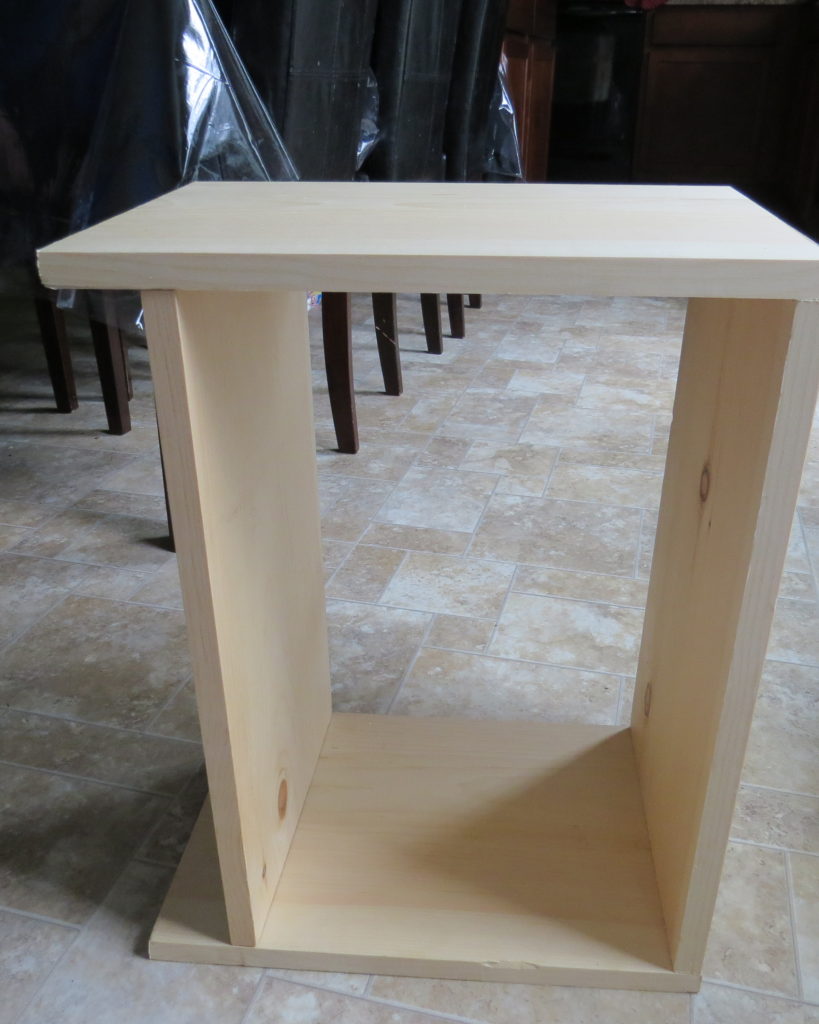
5. Fifth, hammer one nail in each corner above the right board.
6. Sixth, hammer one nail into each end of the left board.
7. Finally, have the child (or children) hammer in 5-10 more nails in between each of the two end nails.

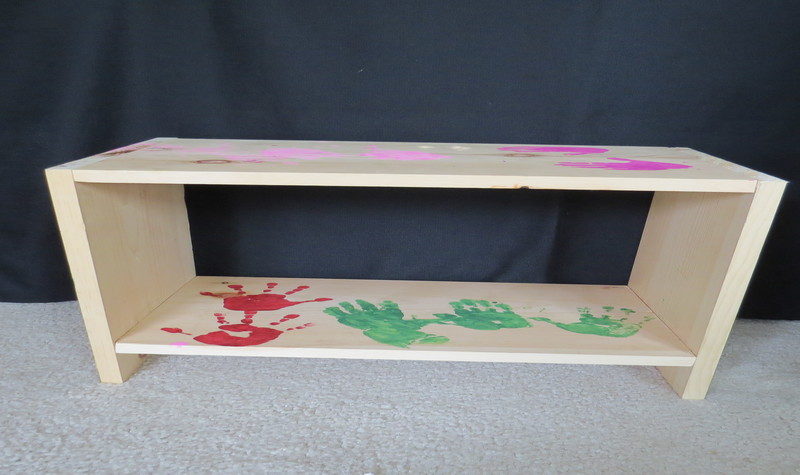
Done! The child can leave the shelf as it or paint it.

Write an opinion bout building this simple shelf!
Again, on the next day, you can have your child write his or her own opinion about the building process and the shelf itself. Use this writing lesson to guide him or her!
Now for the Writing Lesson!
To get a full understanding on how I conduct each writing lesson you may want to read the Writing Prompts Introduction post. The opinion lesson outlined below (and all other prompts posted) will make more sense and be easier to follow and use. Here’s the lined paper I use for Grades K-2 and Grades 2-7
Common Core State Standards
NOTE: This lesson can address the following Common Core State Standards: CCSS.ELA.LITERACY.W.K.1, W.1.1, W.2.1, W.3.1, W.3.1.A, W.3.1.B, W.3.1.C, W.3.1.D, W.4.1, W.4.1.A, W.4.1.B, W.4.1.C, W.4.1.D, W.5.1, W.5.1.A, W.5.1.B, W.5.1.C and W.5.1.D.
Tell the Story Line:
Begin the lesson by telling the story line: “You just built a simple shelf. Now you’re going to write your opinion about the process and the shelf itself.”
Brainstorm
Give the kids time to think about whether or not they liked building the shelf. Then, have them think of reasons why they did or did not.
For example, children might like the project for these reasons:
- Few materials, little time, easy, useful product
- Motivation to build more for myself or for family and friends
- Possibly sell shelves in the future
Or, children might not like the project for these reasons:
- Too loud, too hard, too long, useless
- I hit my thumb with the hammer and got hurt
- It made me sweaty
- It’s not very fancy like the shelves you buy in the store
Show the 5 Sections
- Introduction/General Opinion
- Materials
- Building
- Using the Shelf
- Conclusion/Thoughts for the Future
As mentioned in my writing prompts introduction: K-1st Graders are encouraged to write 1 sentence for each section, 2nd Graders 2 sentences, 3rd Graders 3 sentences and so on.
Now to Write!
- First, begin by writing your general opinion about building the multi-purpose shelf. Feel free to engage the reader by asking questions or exclamations.
For example, a kindergartner or 1st Grader might write:
Do you like the build? I hate it! OR Do you like to build? I love it!
Or, a 5th Grader might write::
Do you like to build? Is your house cluttered with books or shoes? You might like to try building a 4 tier shelf. It’s so easy. I loved building it and am so proud of myself!
2. Next, write your thoughts about the materials and tools. Were they simple, easy, inexpensive or difficult, heavy, expensive, etc.?
3. Third, write your thoughts about the building part.
4. Next, write your thoughts about using the shelf in the future.
5. Lastly, write the conclusion. Restate your opinion. Write any thoughts you have about other building projects in the future. In additiona, you can encourage the reader to try building the shelf or discourage the reader from doing so.
Print the Writing Lesson
Here is the writing lesson for you to print and use!
We hope you’ll try to build a 4 tier shelf!
Other Building Projects for Kids
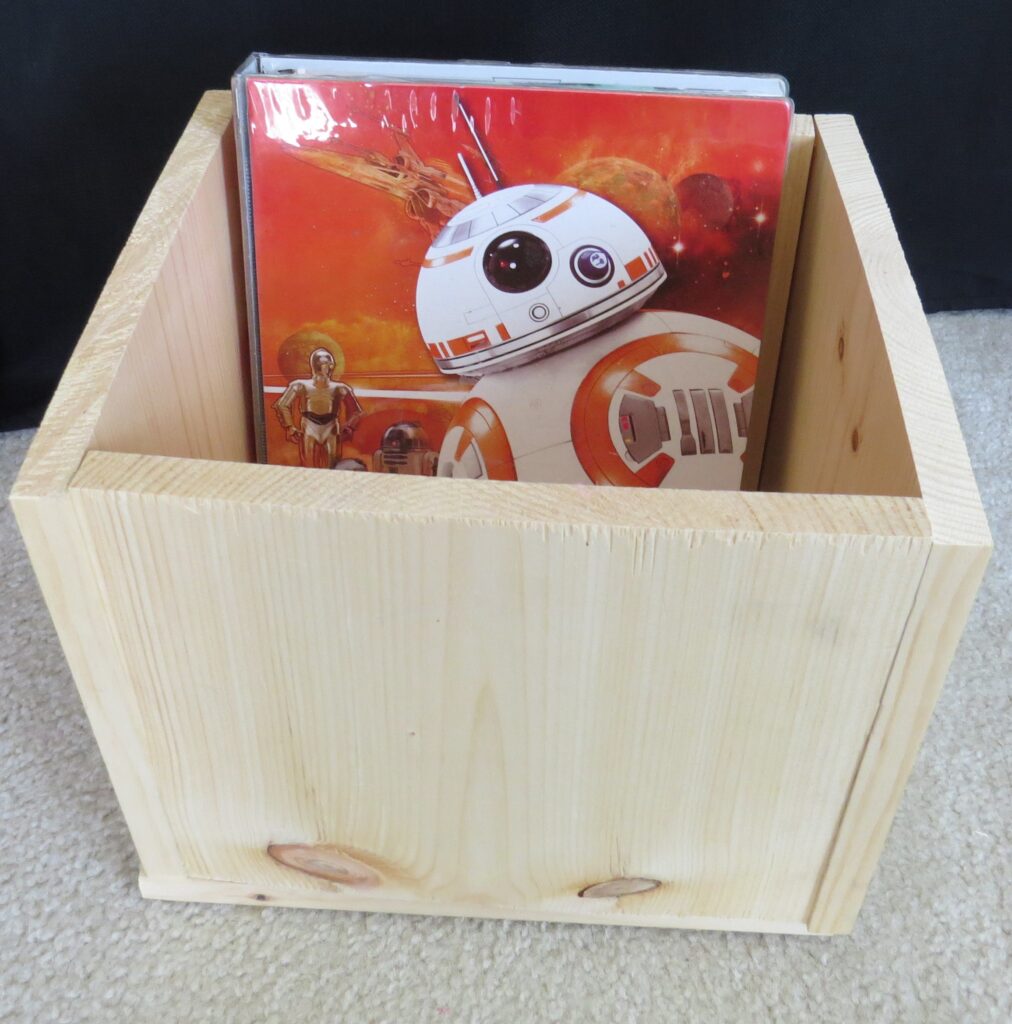
Since kids love to build, you may also be interested in building their own book box to hold their school or library books.
Kids love to build this 4 tier multi-purpose shelf too!