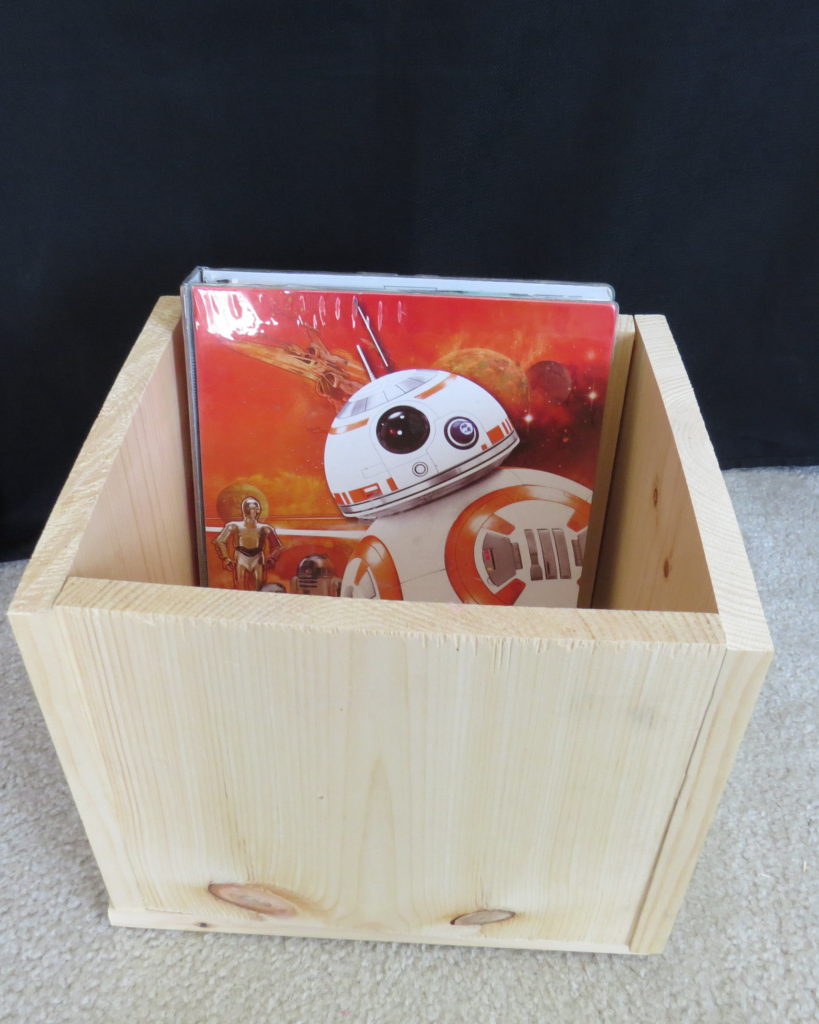
In this post, I’m going to show you how to build a simple book box with your child that can last their lifetime! Building projects for kids are fun and useful. Kids love to build! Here they get to build their very own book box, then write the instructions on how to do it.
Or, you can have students write their opinion about the building process using this guided writing lesson:
I genuinely think it will shock you how simple, yet sturdy, this building project is. It can easily be completed on a Saturday morning or summer afternoon.
A Solid Book Box
It will produce a solid book box that can last the duration of the child’s school years and maybe even beyond!
Ages 4 and Up
This project is recommended for children ages 4 and up with adult help and supervision.
My boys had just turned 6 and 5 when they built their book boxes and it was exhilarating to watch them hammer away!
(I was having so much fun that day that I didn’t think to take a picture.)
The wooden book box idea came to mind after I watched countless plastic bins and wicker baskets crack, crush and crumble in our home.
I got tired of looking for something to hold our children’s books that wouldn’t break, AND I needed a space for their homeschooling binders and workbooks.
Wood!
One day, I thought of WOOD! And I thought about how much my boys would LOVE to hammer in some nails.
So, I measured books and binders. I drew up a diagram with dimensions. And I drove my kids to Home Depot.
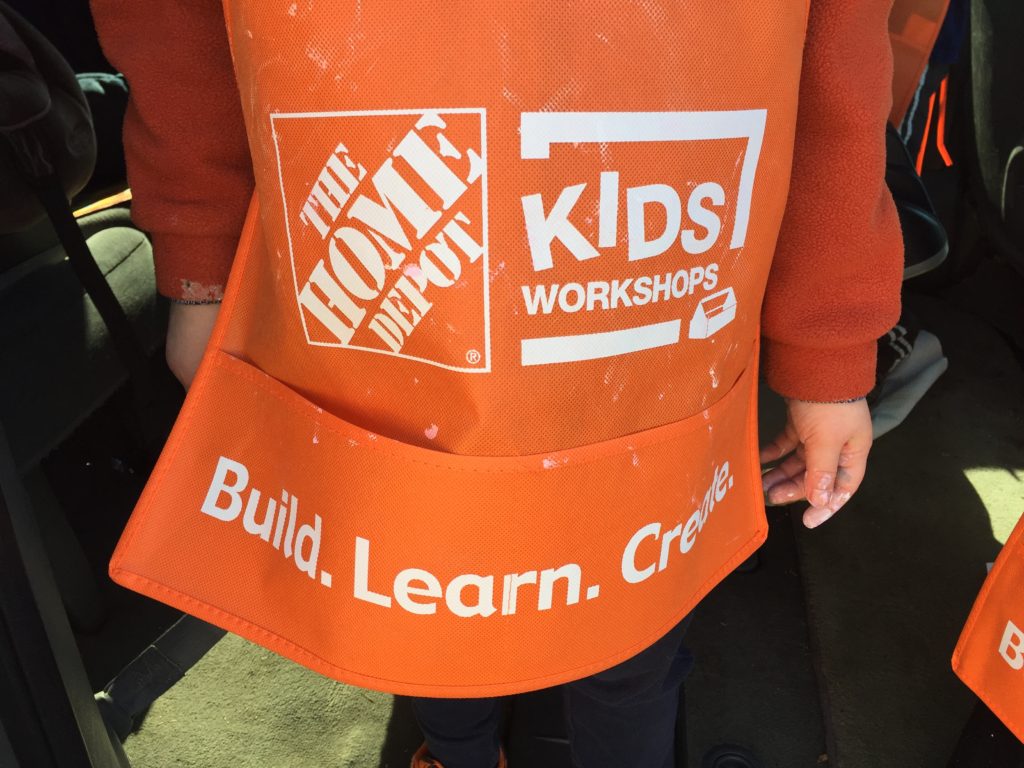
When we got there, we discovered that Home Depot has their own building projects for kids. So neat! The first Saturday of every month, they have building kits for parents and children to complete together.
That day, we stayed to complete their project, then bought our own materials for our book boxes and headed home.
NOTE: It’s important to say that I found this book box building project for kids to be A LOT easier to complete than the craft projects that Home Depot offers.
I’m not trying to downplay the projects at Home Depot AT ALL. Home Depot is so generous and genius for offering such workshops for children the 1st Saturday of each month. We go to them regularly!
The truth is that my young children (now ages 7, 6 and 3) still need quite a bit of help completing each step of those projects.
It’s Easy!
With the book box, you hammer in the first two nails and then your child can run with it. You just need to be close by for guidance and support and to keep them moving along.
HERE’S WHAT YOU NEED:
- Go to Home Depot.
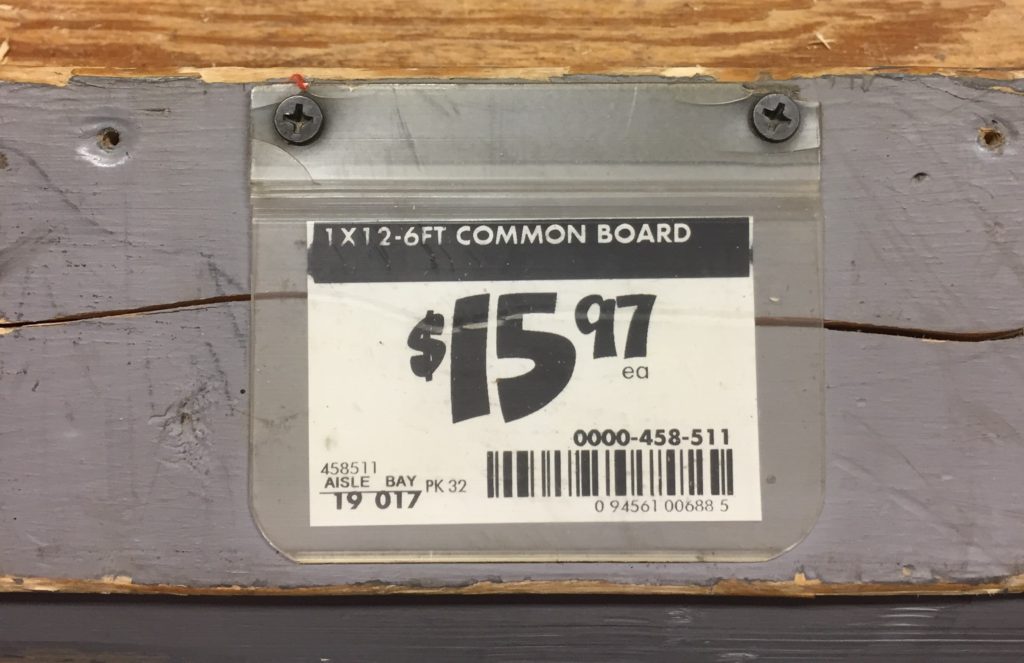
2. Pick out a 1 inch by 12 inch by 6 foot common board. They’re usually found in the back right corner of the store.

Home Depot Employees Will Cut the Wood
3. Ask a Home Depot employee to cut the large piece of wood. Each cut piece will be 12 inches wide since the entire piece of wood is 12 inches wide.
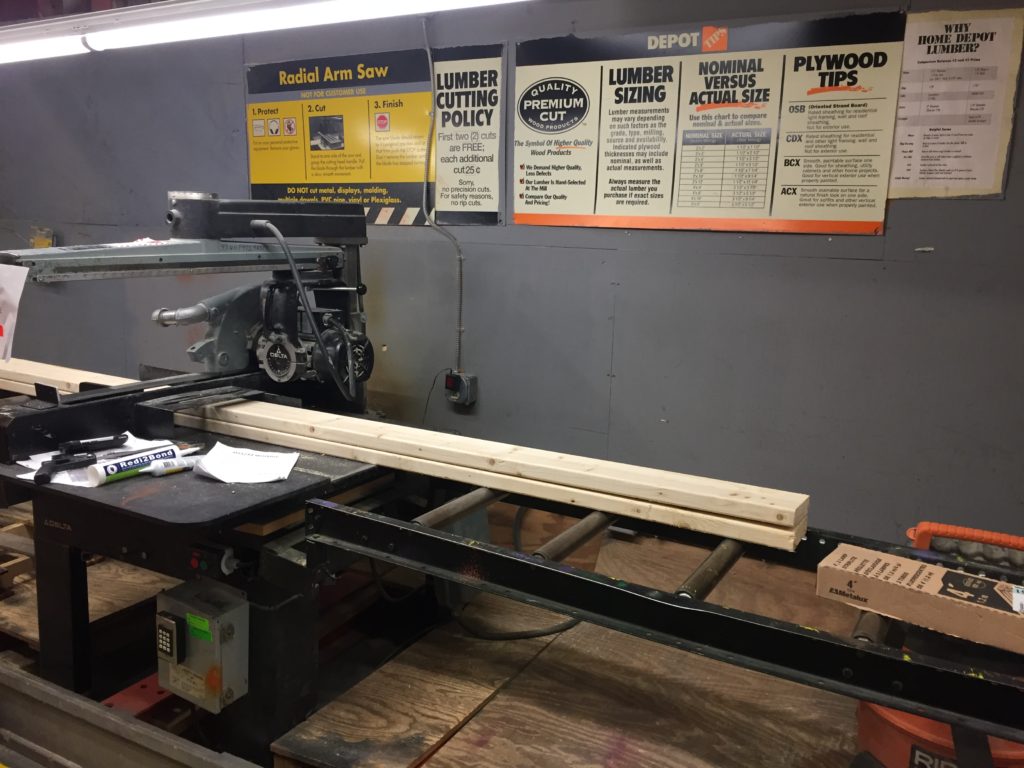
The Home Depot employee needs to cut 4 pieces that are 10 inches long and 1 piece that is 13 1/2 inches long. There will be some wood leftover. Take that home too in case you want to use it for something else.
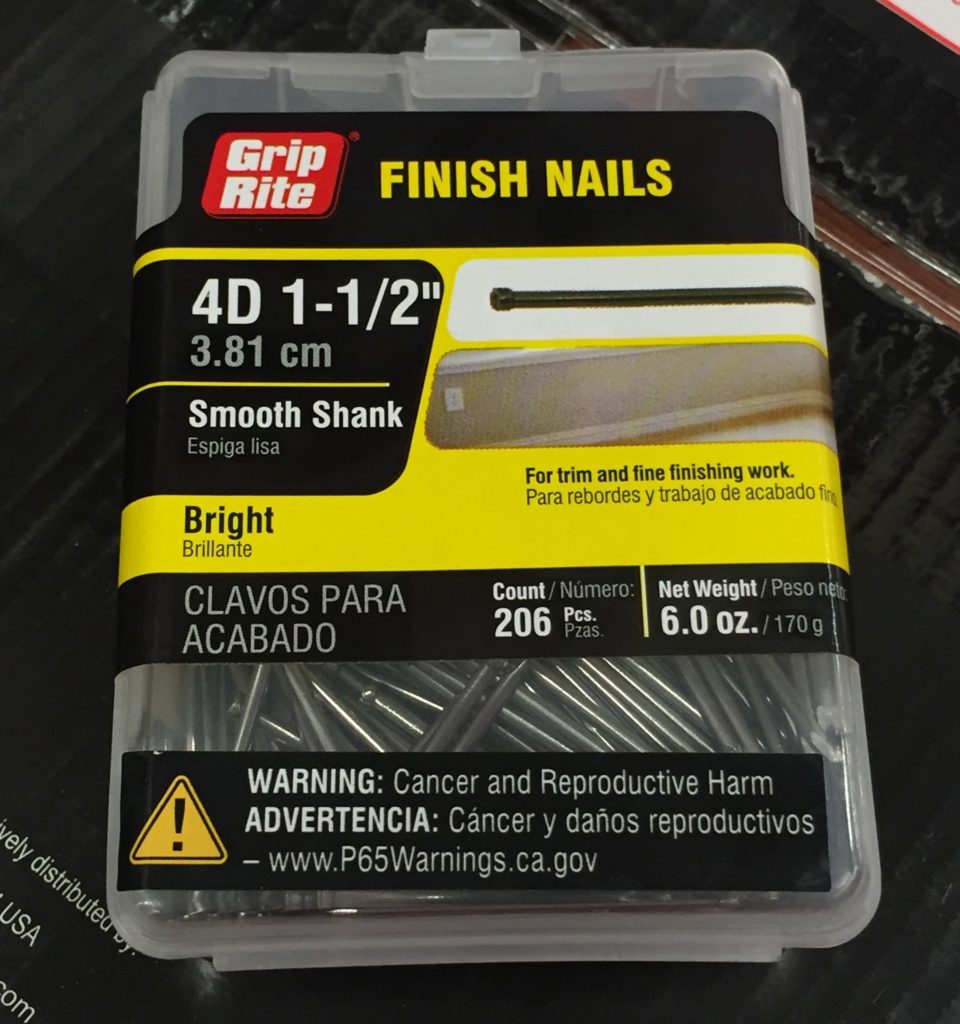
4. Get a box of 1-1/2 inch finish nails.
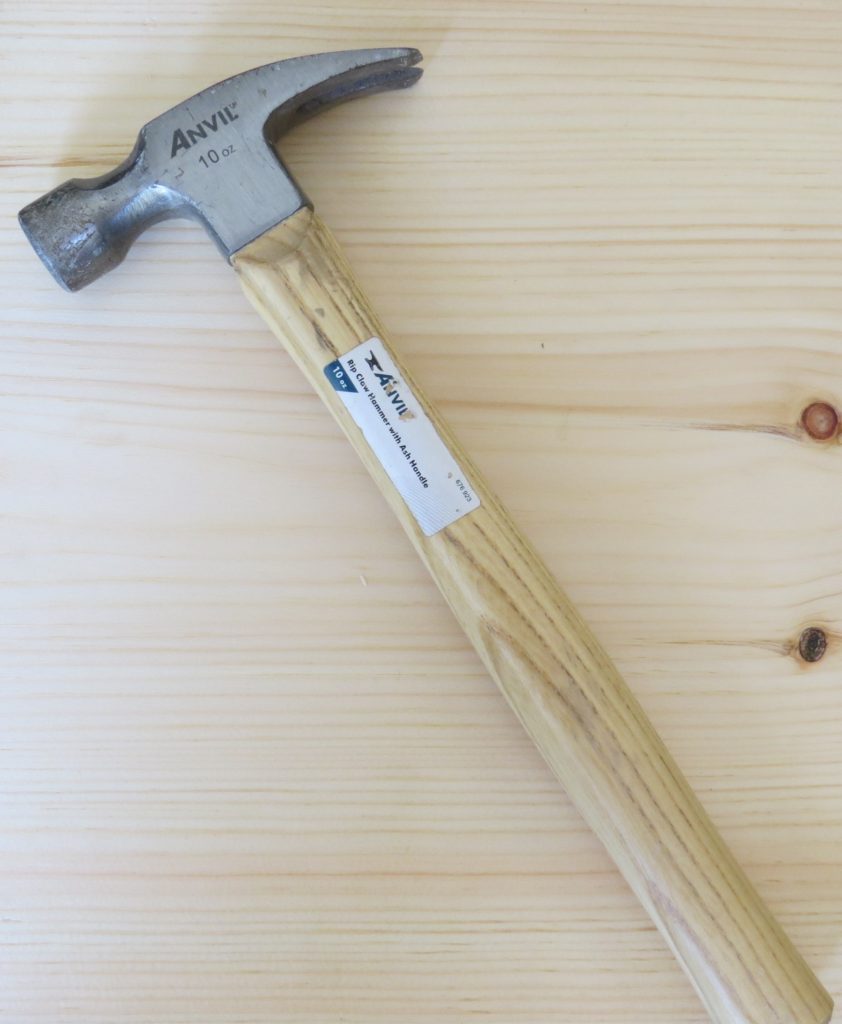
If you don’t already have a light weight hammer at home, you’ll want one of those too.
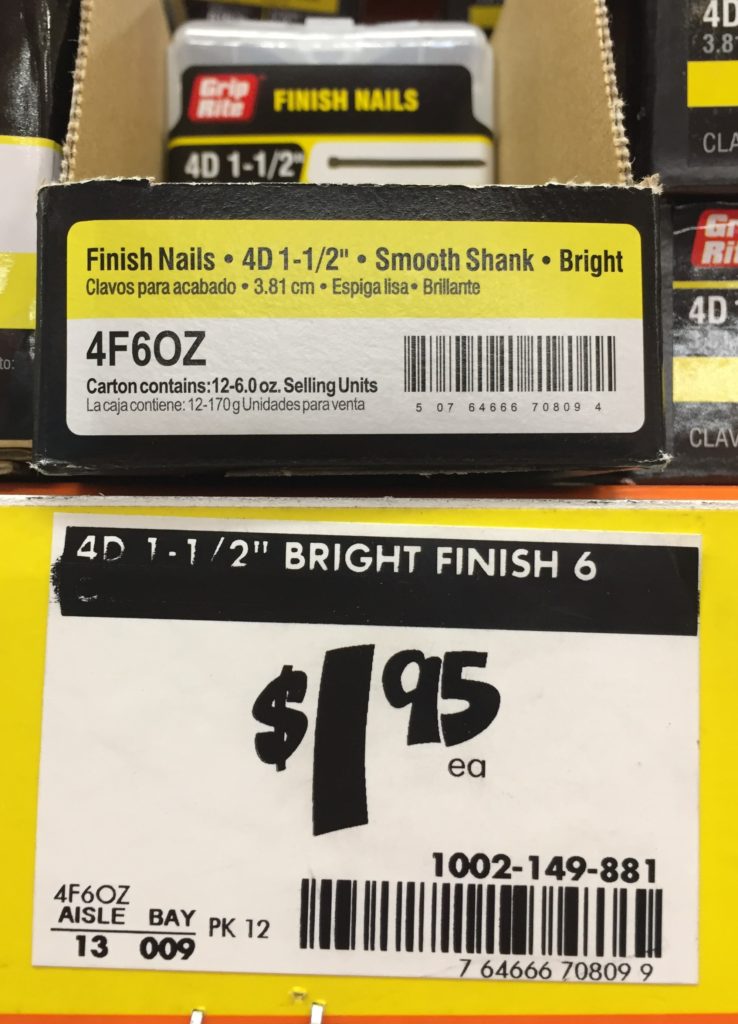
5. Check out. It will cost you around $18.00 for the wood and nails.
6. Drive home and build the box!
Make sure you choose to complete the project at a time and place where your young builder can happily hammer and won’t bother anyone with the noise.
The hammering gets loud. This project is meant to be a joy and a delight for your child. Do pick a time and place that will ensure such.
HERE ARE THE INSTRUCTIONS:
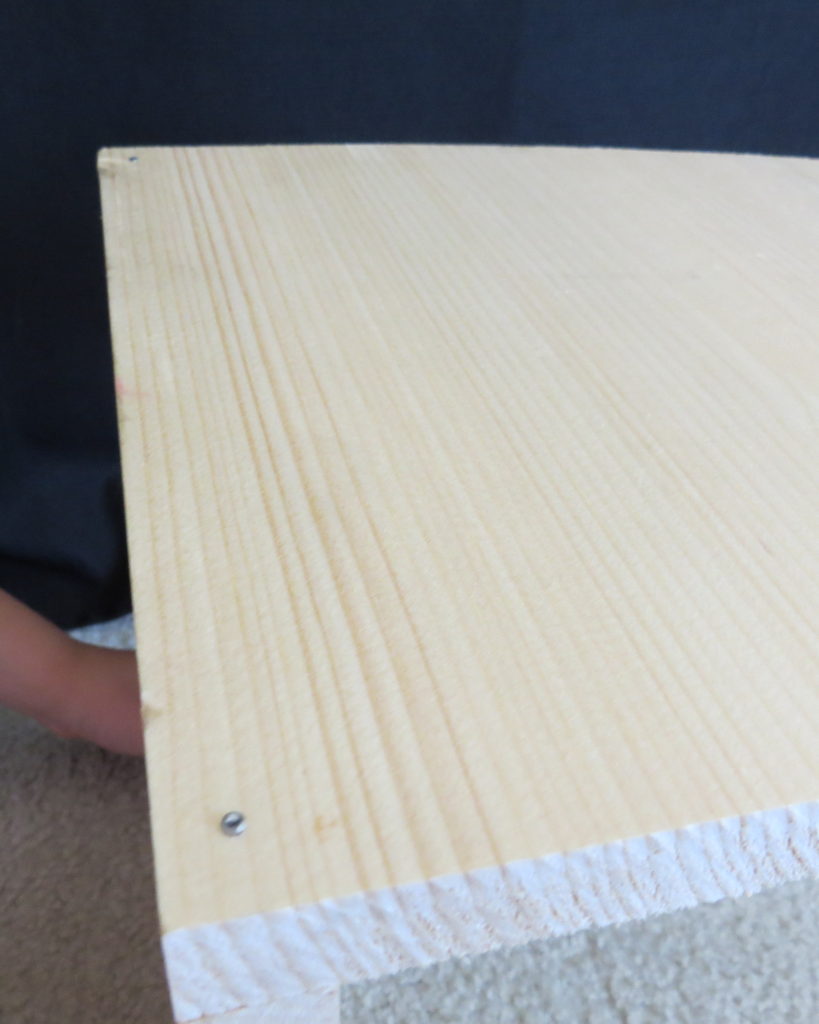
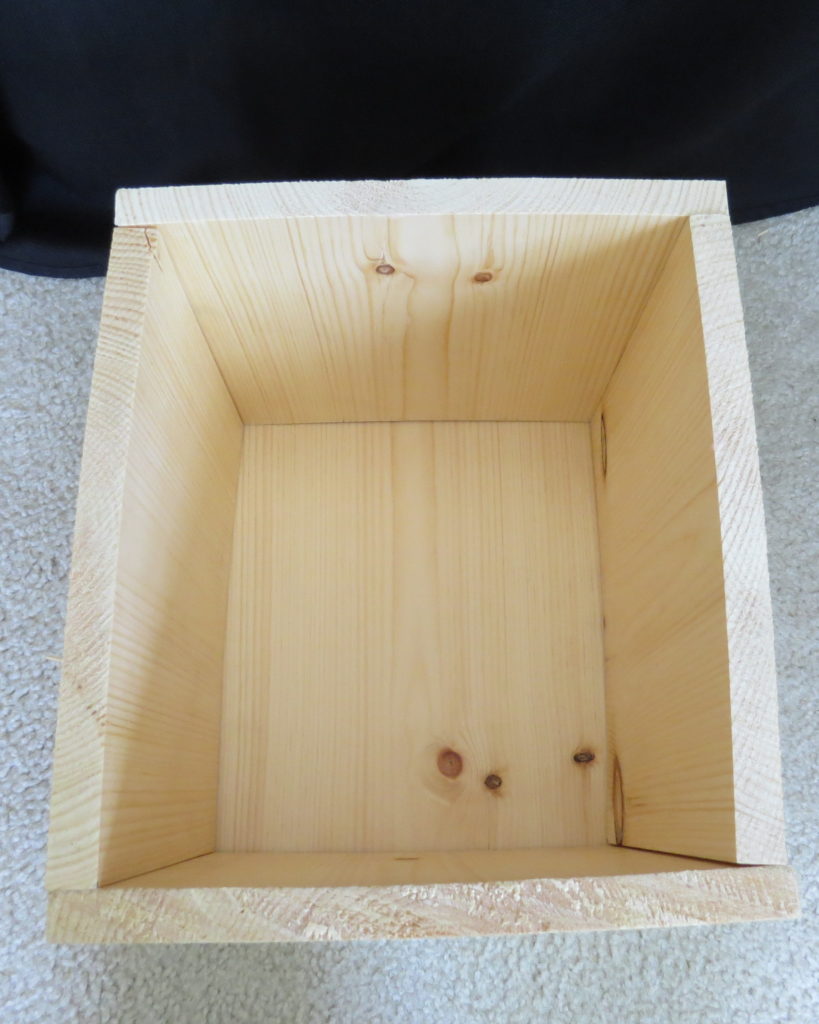
- One piece measures 12″ x 13.5″. Set that piece aside.
- Line the 1st two pieces of wood together like this. (They both measure 12″ x 10″.) The 10″ sides should be lined up together.

The Hardest Part
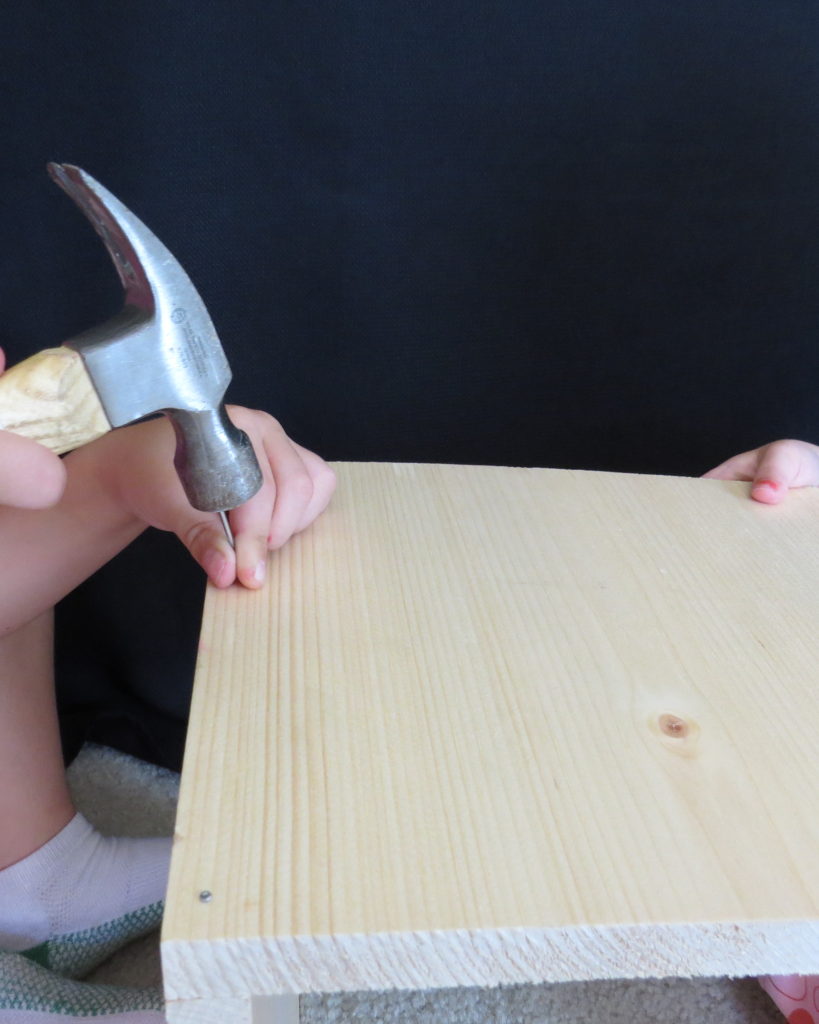
This is the hardest part of the entire project. Your child needs to hold the wood steady while you hammer in the 1st two nails (one on each corner). If your child can’t hold it steady, you can try placing something sturdy under the horizontal piece to hold it in place for you.
3. Then, hammer in one nail in each corner.
4. Next, hold the the two pieces up while your child hammers in 5-10 nails in between the first two. Make sure they hammer in the nails close to the edge and straight down.
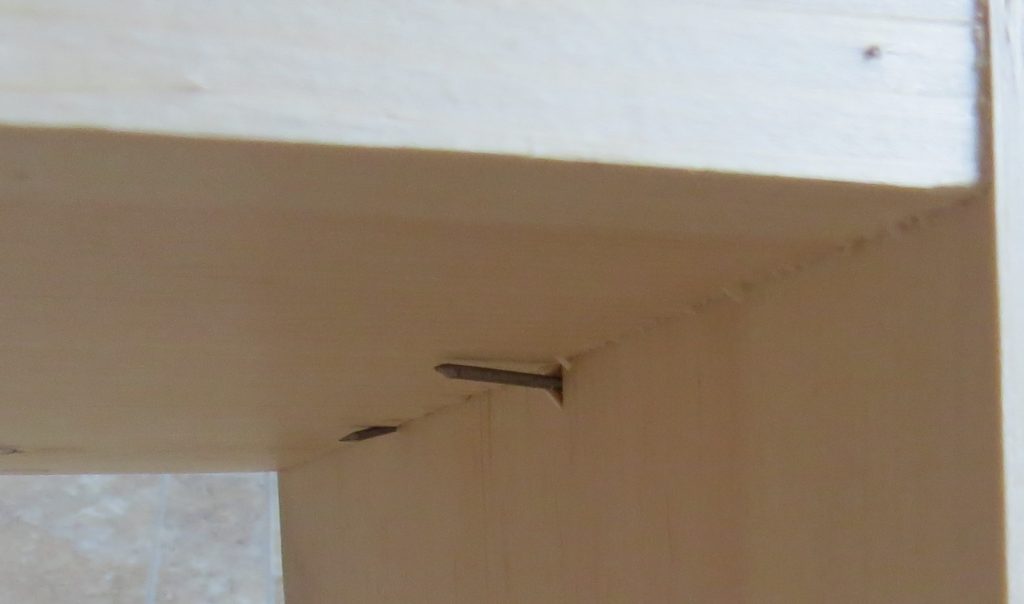
There’s a good chance that your child will hammer a nail through the board and out the side making a sharp notch. Try to avoid this, but understand that it can happen easily with a young builder hammering for the first time.
5. Now, take another 12″ x 10″ board. Place it under the horizontal board on the other side. Line up the edges.
Hammer in one nail on each corner. Have your child hammer in 5-10 nails between the 1st two nails.
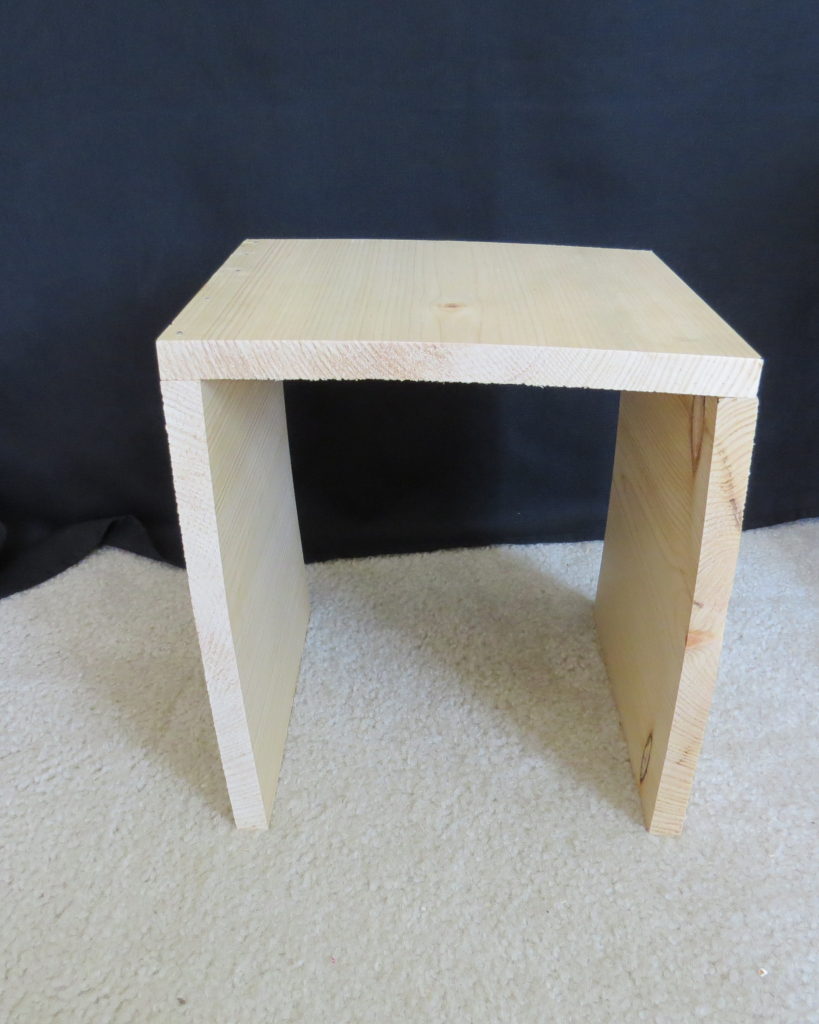
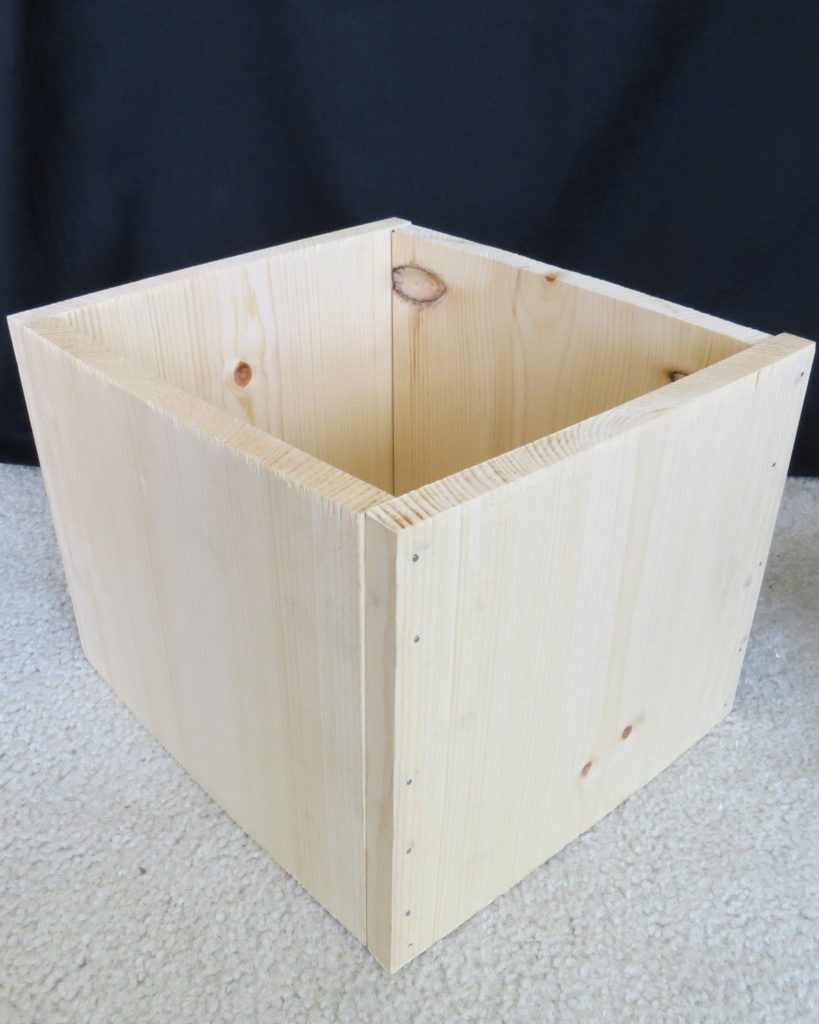
Next, turn the structure over so that one side is flat on the floor and the two sides are standing up vertically.

The 4th Piece
Rest the 4th piece of wood that is 12″ x 10″ on top of the two vertical boards.
Again, hammer a nail into each corner. Have your child hammer in 5-10 more nails between the 2 nails on the left side and between the 2 nails on the right side.
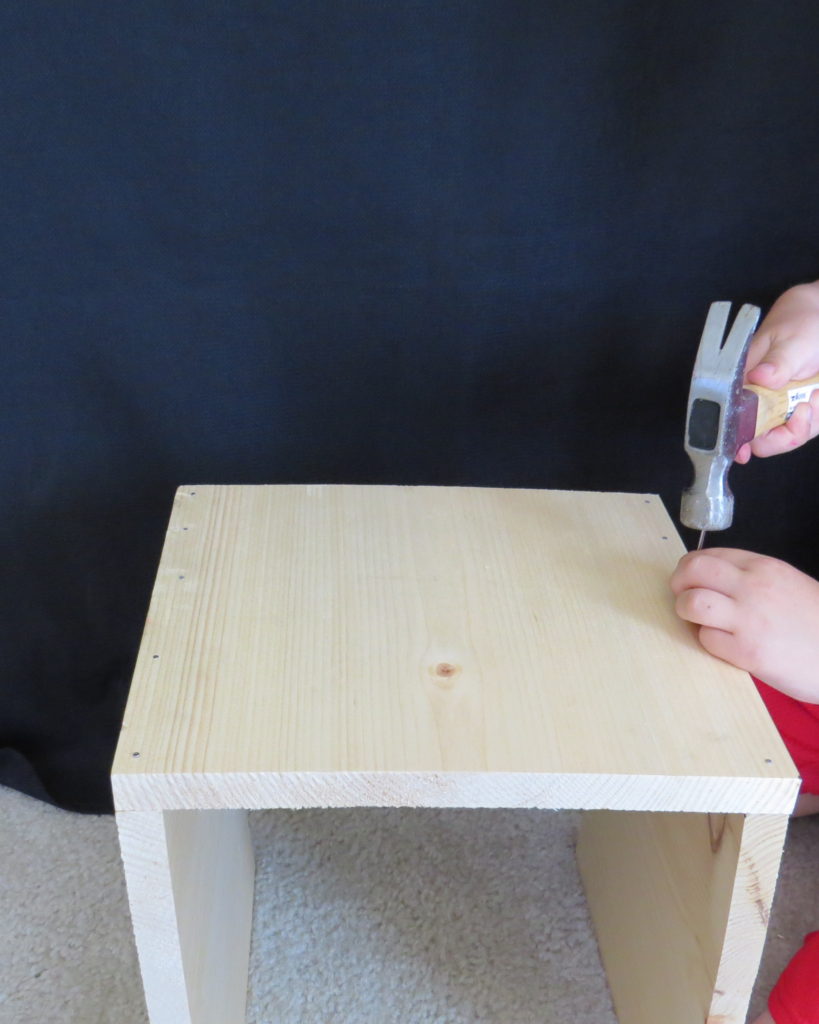
Turn the box so that one opening is sitting on the floor and the other opening is face up.
Place the 5th and final piece of wood on top so that the edges line up.
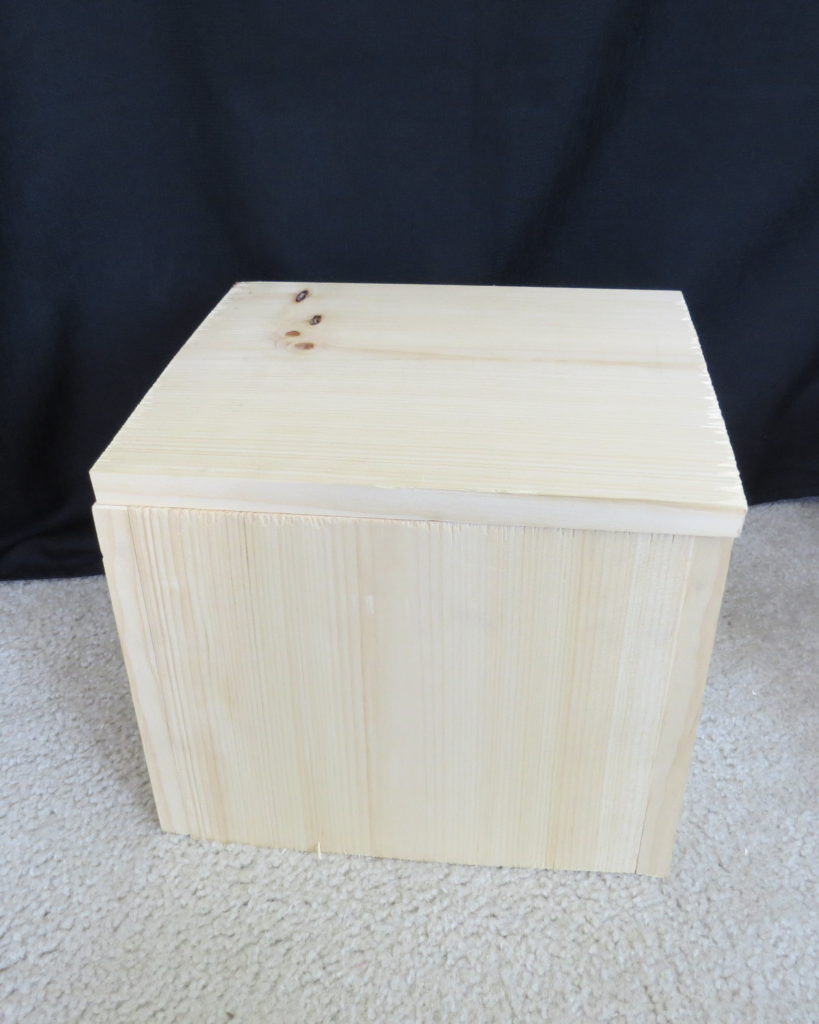
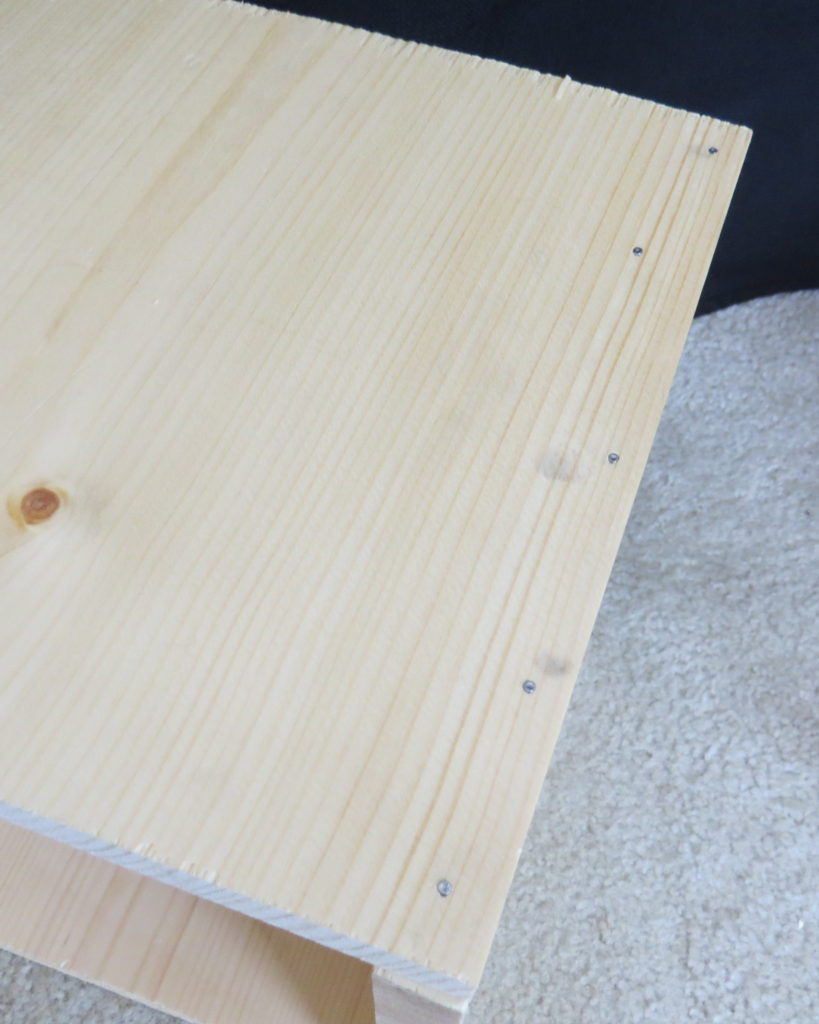
Finally, hammer one nail into each corner. Have your child hammer in 5-10 more nails along each edge of the book box.
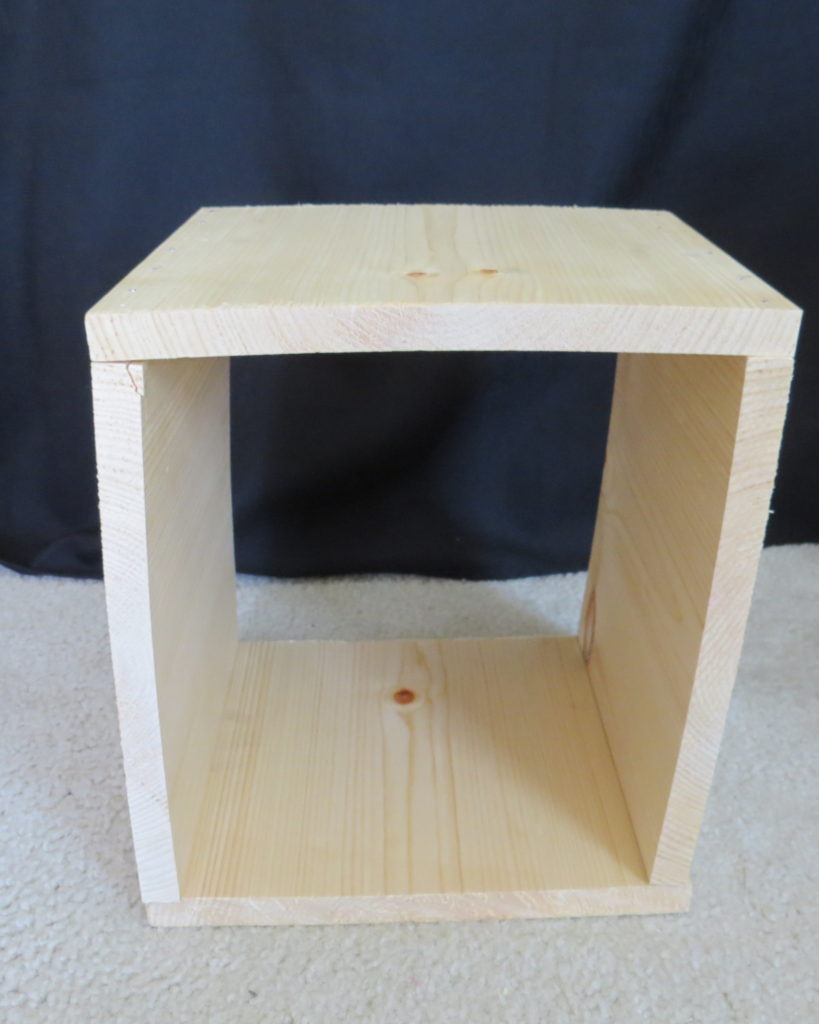
Turn the book box over.
DONE!
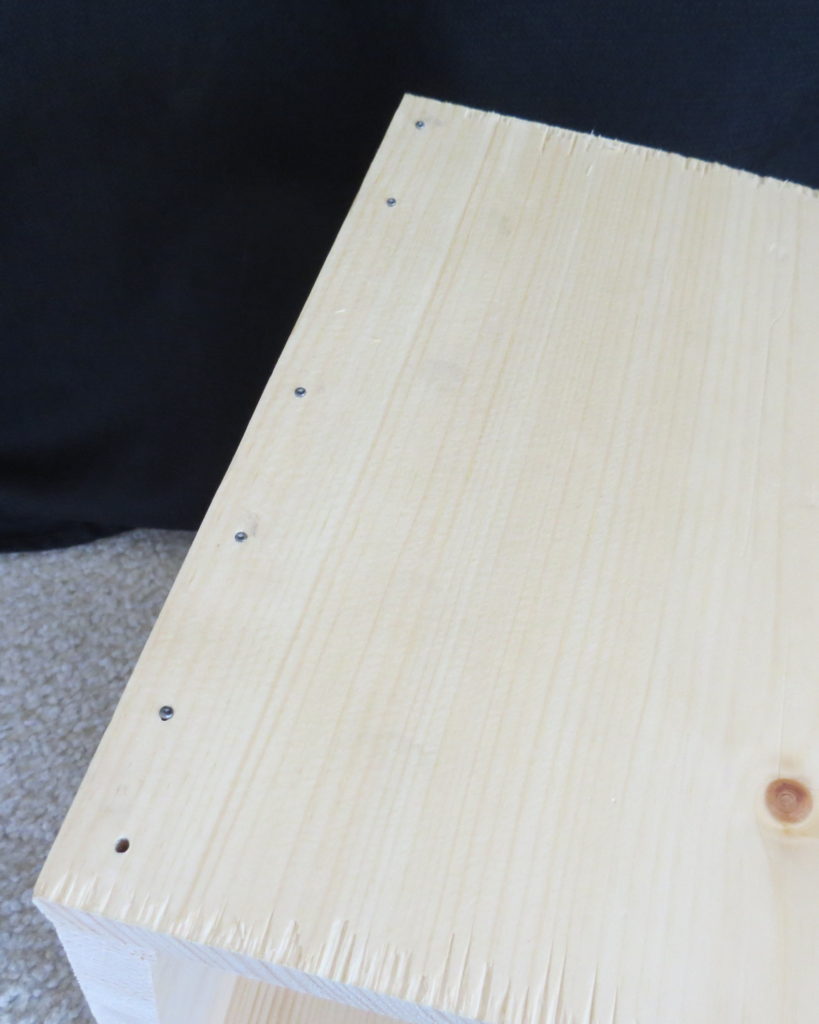
Note: Occasionally, the 6 foot piece of board won’t be an exact 12″ wide. If such is the case, you might have some wood hanging off one edge. Your child can write his/her name on that extra edge or just leave it alone.
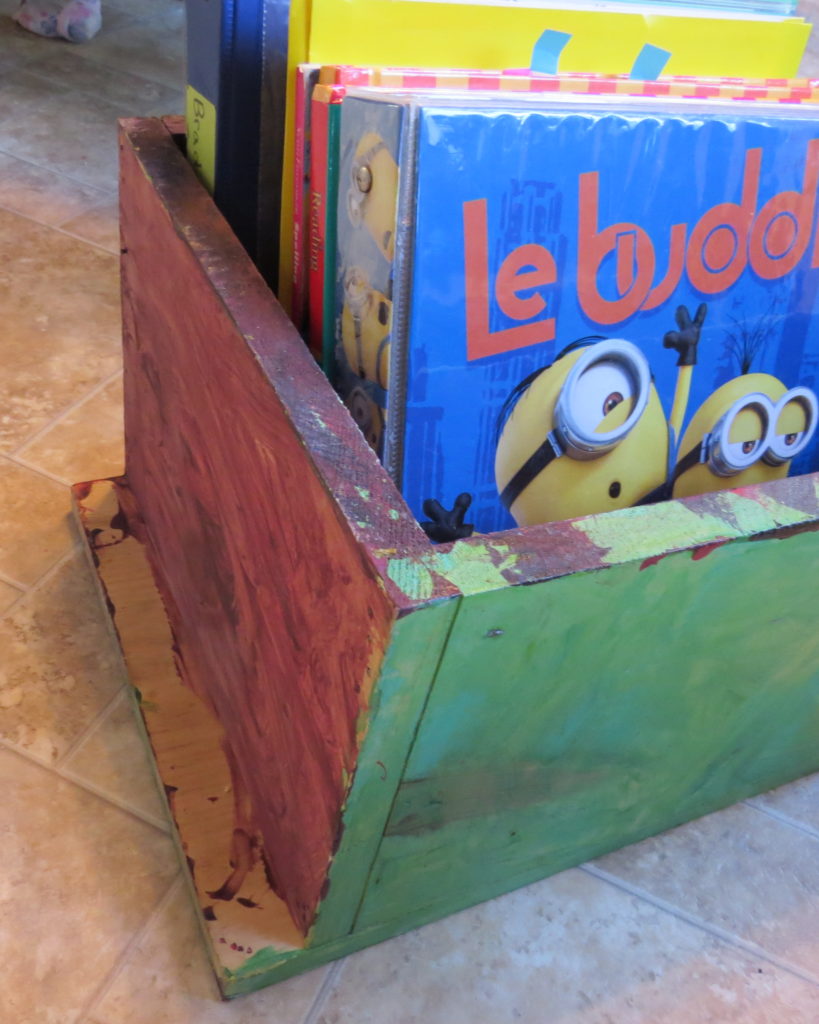
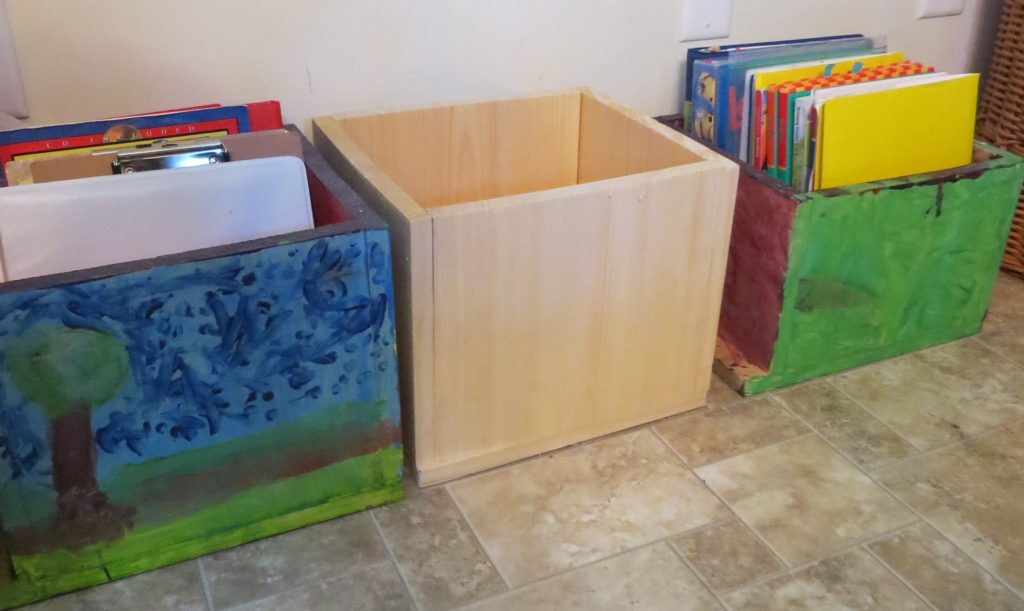
Once the book box is complete you can begin using it right away or have your child paint it. My boys painted their boxes. Then, they applied a couple coats of Mod Podge. Their boxes are on the left and right.
Write Out the instructions!
The day after students finish building their box, you can use this guided writing lesson to help students write out their instructions.

NOW FOR THE LESSON!
To get a full understanding on how I conduct each writing lesson you may want to read the Writing Prompts Introduction post. The lesson outlined below (and all other prompts posted) will make more sense and be easier to follow and use. Here’s the lined paper I use for Grades K-2 and Grades 2-7
Show the 5 Sections
Introduction
Materials
Instructions
More Instructions
Conclusion
As mentioned in my writing prompts introduction: K-1st Graders are encouraged to write 1 sentence for each section, 2nd Graders 2 sentences, 3rd Graders 3 sentences and so on.
NOW TO WRITE!
Guide the students through the following steps. They are free to use their own words as long as they follow along to keep their instructions organized.
Title
- First, on the 1st line, center, write a title. Examples can be:
How to Build a Book Box, Build a Wooden Book Box or simply Book Box etc.
Introduction
2. Next, on the 2nd line, left side, write an introductory paragraph. Use a question and/or exclamation. For example:
Do you like to build? Build a book box!
OR
Are you tired of watching plastic book boxes break? Build a wooden one!
Materials
3. Third, on the next line, left side write the word MATERIALS and list them.
A younger child may only write:
MATERIALS: wood, nails and a hammer
An older child can be more specific:
MATERIALS:
4 pieces of wood that are 12” x 10”
1 piece of wood that is 12” x 13.5”
Nails that are 1 ½ inches long
A light weight hammer
Instructions
4. On the next line, left side, write the word STEPS or INSTRUCTIONS.
5. Fifth, under the word STEPS or INSTRUCTIONS write the number 1 to begin.
6. Then, have the students use 1-4 sentences (depending on age and ability) to explain each step to building the book box. For the first step:
A younger child might simply write:
Put two sides together. Hammer in the nails.


An older child has the ability to break it down into many mini steps:
Take two pieces of board that are 12” x 10”.
Connect the 10” edges to make a right angle.
Hammer in a nail at each corner.
Hammer in 5-10 more nails along the edge.
7. Seventh, on the next line, write the next number (The numbers will vary according to how many steps have already been written.) Write how to add the 3rd side.


8. Eighth, on the next line, write the next number. Write how to add the 4th side.


9. Ninth, on the next line, write the next number. Write how to add the bottom.


Conclusion
10. Lastly, write a conclusion that encourages the reader to build the box and how to use it!
Print the Lesson
Here’s the full lesson for you to print out and use.Download
Home Depot
Take this lesson a step further and find building projects for kids at Home Depot or check your local Home Depot. Many offer free building projects for kid the 1st Saturday of each month.
More Building Projects for Kids
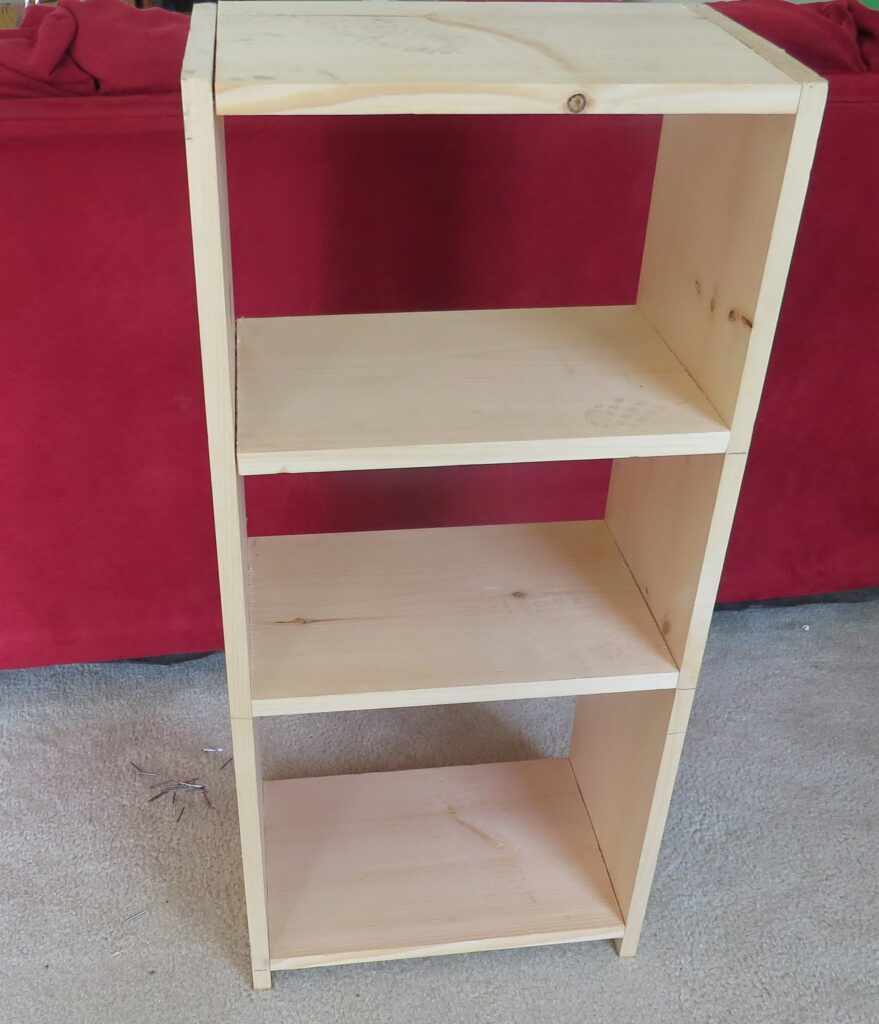
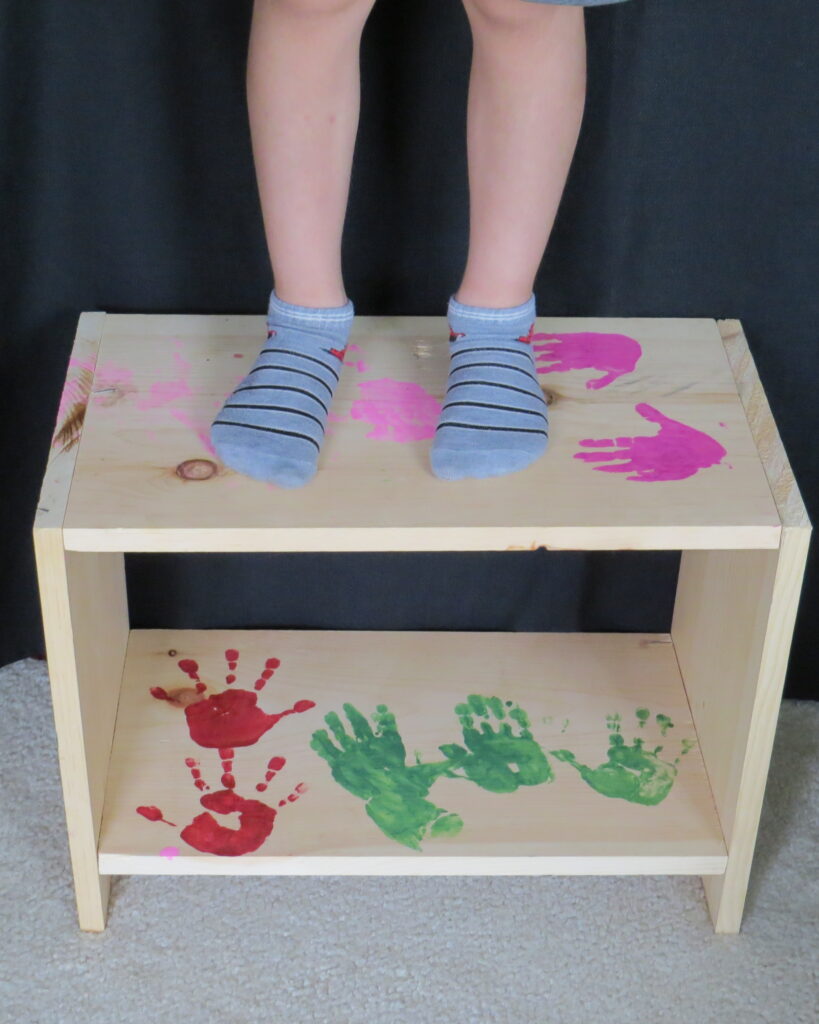
Building projects for kids are a big hit in our home. My kids have also built their own simple shelf. Here are the instructions on how to build The Surprisingly Simple and Sustainable Shelf!
Or a 4 Tier Multi-Purpose Shelf