These easy snow art accents are highly motivating to writers and reward them for the work! In addition, they add color and charm to each child’s story.
*This post contains affiliate links. For more information, see my disclosures here.*
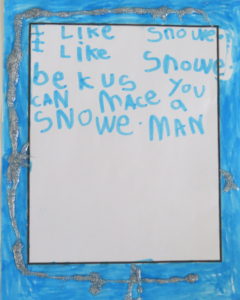
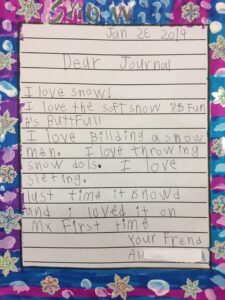
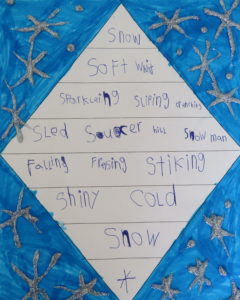
One Little Boy
The other day, my five year old saw his 6 year old brother completing his art accent to go along with his snow Haiku. He wanted to do a snow art accent. In response I said, “Okay, son. Write whatever you want about snow. Then, you can fill your border with a snow art accent.”
This is his work:
Below is a list of different art accent ideas you can add to any writing prompt about snow!
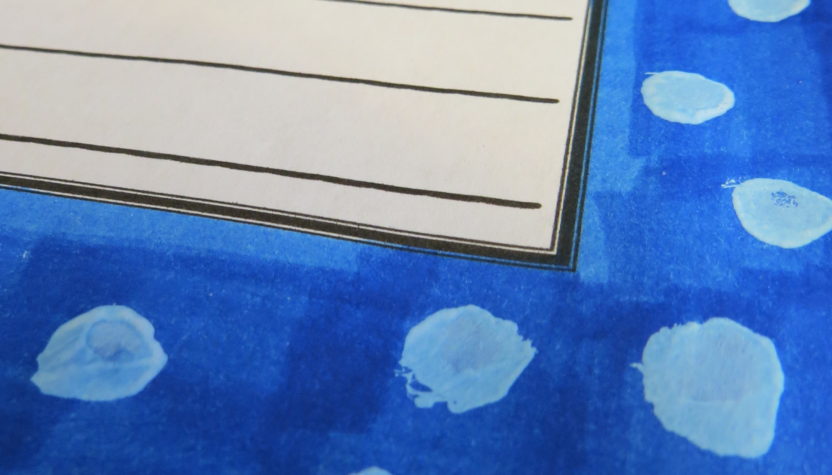
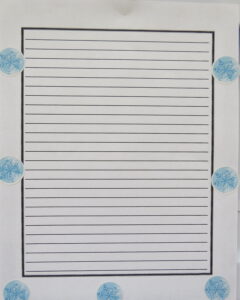
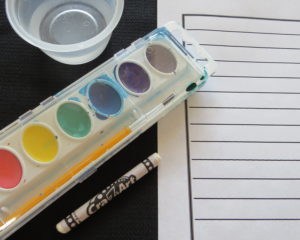
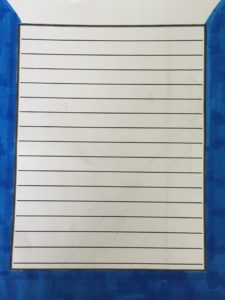
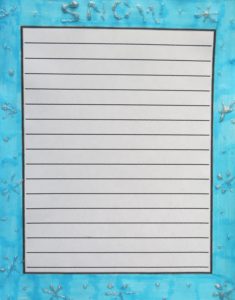
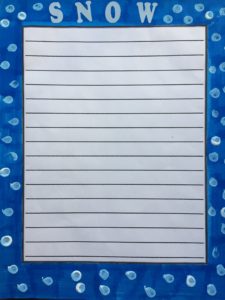
Bordered Paper
For all of my writing classes, students write on bordered paper. That way they can decorate the border around their writing with an easy art accent.
You can print and use this paper as well. Here is the paper for Grades K-2 and Grades 2-7. Here’s a printout of a border with no lines to use with very early writers like in the sample above.
Setting Up the Table
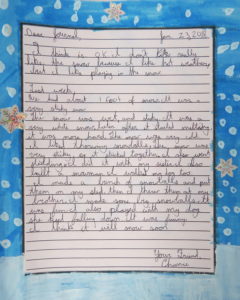
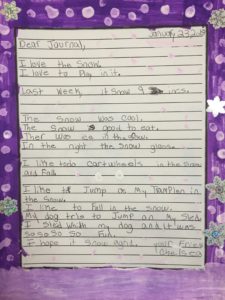
Here in North Carolina we got a record dump of white sticky snow. The students in my after school writing class wrote about their time in it!
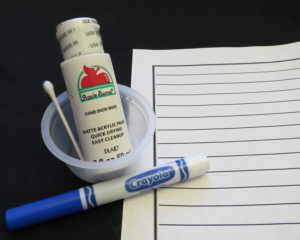
On the art accent table, I set out blue, light blue and purple markers, white acrylic paint, q-tips and snow stickers. They could use them however they wanted! Here are a couple samples.


SNOW ART ACCENT IDEAS
You can use any one idea or combine some.
STICKERS
- Put stickers* around the border of their writing. Here’s a sample to print and hang.
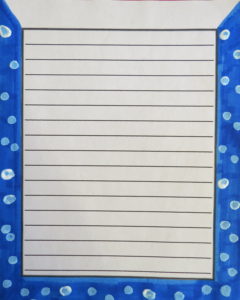
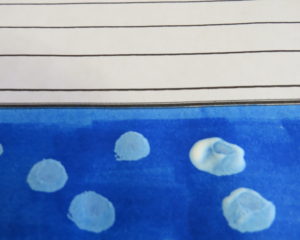
WHITE PAINT ON BLUE MARKER
2. Use white paint on blue marker.
First, use a blue, light blue or purple marker to color the border. Then, dot snowflakes using white acrylic paint* and a q-tip!
Here’s a sample to print and hang.
(You can get small bottles of acrylic paint in the craft aisle at Walmart for 50 cents)
PURPLE WATER COLOR OVER WHITE CRAYON
3. Use purple water color* on white crayon.
First, use a white crayon to draw six pointed snowflakes. Then, brush over it with purple water color*. The white crayon will show through to make a winter scene. The black pen in the 2nd images show where you can use white crayon.
Here’s a sample to print and hang.


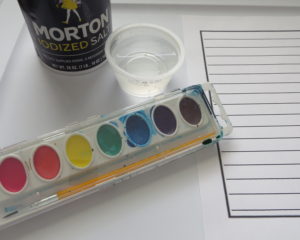
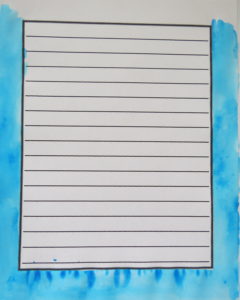
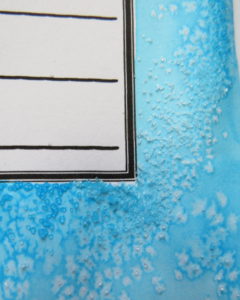
BLUE WATERCOLOR PAINT AND SALT
4. Use blue watercolor* and salt.
First, paint the border with blue watercolor*. Next, sprinkle salt on the wet blue border. In less than 5 minutes the salt will have crystallized looking like snow.
Here’s a sample to print and hang.
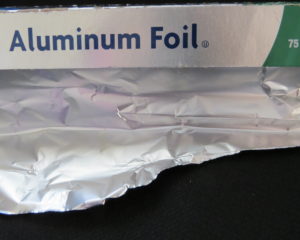
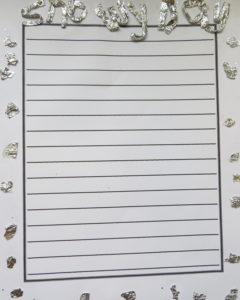
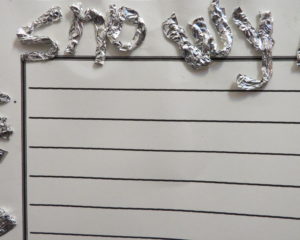
ALUMINUM FOIL
5. Make snowflakes using aluminum foil. Additionally, students can attempt to write a title using foil! (Because of the weight of the foil, I printed the lines on card stock for this art accent.)
Here’s a sample to print and hang.
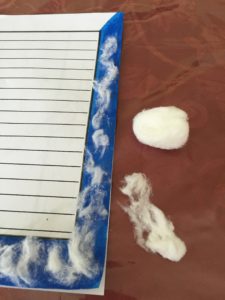
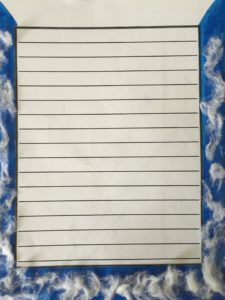
BLUE MARKER AND COTTON
6. Use blue marker and stretched cotton.
First, color the border with blue marker. Then, stretch cotton and glue it around the story using a glue stick.
Here’s a sample to print and hang.
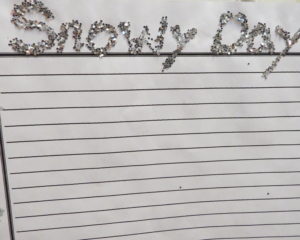
GLITTER
7. Glitter makes a great title too!
First, place the story in a plastic container* or shallow cardboard box. Be sure and use Elmer’s glue to spell out the word. Pour on the glitter. Lastly, shake it off into the container and let it dry!
Once the glitter has dried COMPLETELY, place the writing into a plastic page protector. I was actually surprised at how nice this final touch looked!
Here’s a sample to print and hang.
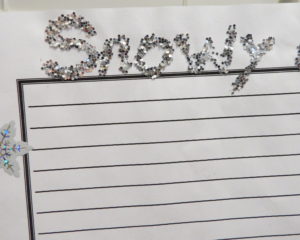
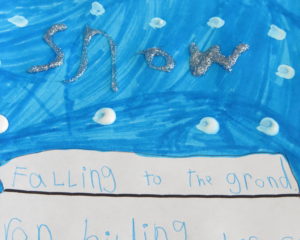
GLITTER GLUE
8. Use glitter glue!
Color the border with a blue marker. Next, use silver glitter glue* to make snowflakes.
Here’s a sample to print and hang.
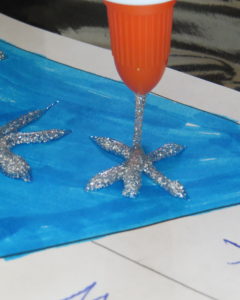
In addition, you can write the word SNOW using the glitter glue. The glitter glue takes all day to dry and does cause the paper to curl up a bit.
Once the glue dries, place the poem in a plastic page protector* and then placed a heavy book on top. The finished piece looks really nice!
STICKER TITLES
9. Use ABC Letters* to spell out the title.
FAKE SNOW!
A BONUS IDEA is to make your own fake snow!
Recently, I’ve discovered the master of Science and Slime ideas at Little Bins for Little Hands. My own children followed her instructions to make snow and had a blast. So much, that I decided making fake snow is a great easy art accent that can reward students for their work!
Print the Ideas
Here’s a list of the 9 snow art accents to print and use.
Writing Prompts About Snow
Winter prompts that I’ve posted so far are:

A Barn, Cows and Snow–Science Fiction
Dance At Grandpa’s-Descriptive Family Event
There’s definitely more to come! If you’d like to receive new writing ideas regularly, you can sign up for my FREE monthly newsletter below.