These 15 ways to use stickers with beginner writers are not only easy and fun, but progressive. Not only do the stickers motivate young writers, but they also teach children how to write, step by step. Implementing these 15 ways to use stickers will help build key skills in children that can set them up for comfortable and confident writing.
*This post contains affiliate links. For more information, see my disclosures here.*
A few years back when I was just starting to teach writing workshops to kids ages 5-11 (You can read my full teaching history here.) I learned about a store here called The Scrap Exchange. They sell donated stickers for less than their original price.
The truth is, stickers are expensive. Even at The Scrap Exchange they sell them for a dollar per ounce. It adds up.
However, I’ve found so many effective ways to use stickers in teaching children how to read and write that it’s worth it. I’m telling you, the kids LOVE stickers! Even one, just one sticker, can motivate them to write!
When you’re done reading this, keep a look out for stickers. If you see stickers at a garage sale, 2nd hand shop or a friend’s junk pile, buy them or ask to have them.
If you buy stickers full price, buy ones that you know the kids will enjoy.
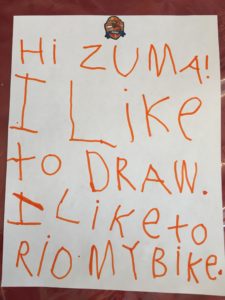
For example, my 5 year old son loves Paw Patrol. So, I bought a sheet of Paw Patrol stickers. He wanted to use those stickers to write for weeks! (I’m not exaggerating.) Here is a letter he wrote to the character Zuma (using just one sticker folks!)
15 EASY AND EFFECTIVE WAYS TO USE STICKERS
Below, I’ve compiled a list of ways to use stickers, from the very beginning to avid writing.
-
FINE MOTOR:
First, a child removes a sticker using the thumb and index finger and sticks it….ANYWHERE!
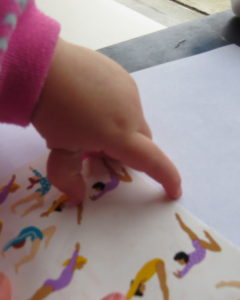
This strengthens the child’s fine motor skills that set the child up for proper pencil, pen or marker grip. Have the child fill a page, an arm, a leg, a cheek, a wall, anything that you approve of. Sit with the child and stick stickers yourself! Enjoy the time with your little one.
-
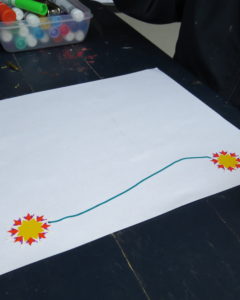
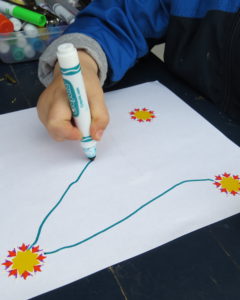
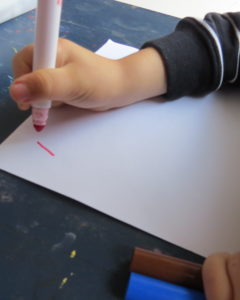
DRAWING STRAIGHT LINES:
Second, using a blank piece of paper, have your child stick two stickers. Then, using a marker have the child draw a straight line to connect the two stickers.
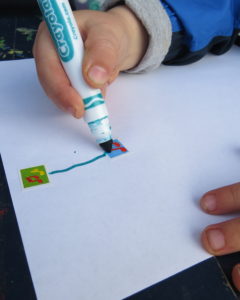
This exercise helps build those fine motor skills as well, all the while preparing the child to draw lines that lead to drawing letters.
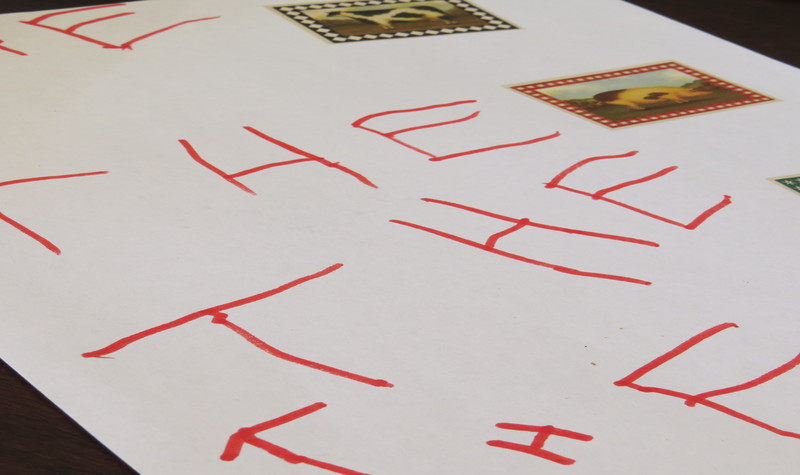
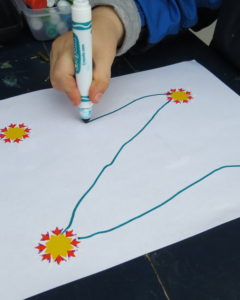
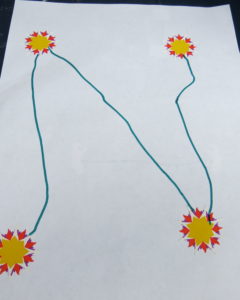
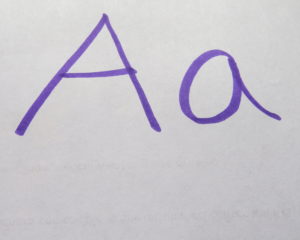
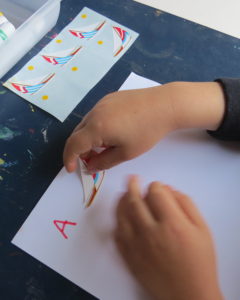
3. DRAWING CAPITAL LETTERS with STRAIGHT LINES
After a week of drawing straight lines, you can place the stickers so that the child can form letters. Stick the first two, then add one at a time until each line is complete. Letters that work for this are capital A, E, F, H, I, K, L, M, N, T, V, W, X, Y and Z. Place any letters your child has drawn in a binder for reading and review.
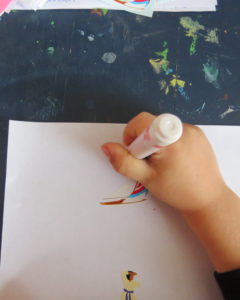
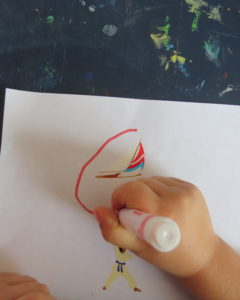
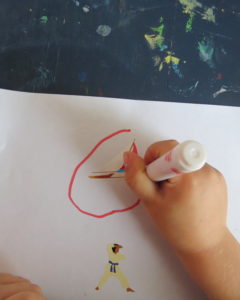
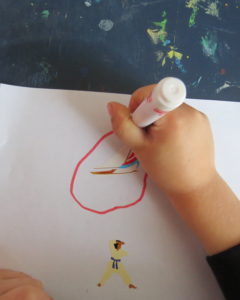
4. DRAWING CIRCLES:
Place a sticker on a piece of paper. Have your child start at the top and draw a COUNTERCLOCKWISE circle around it. (Counterclockwise is really important, you can read a complete post on proper letter strokes here).
This leads to writing letters that have counterclockwise curves and circles: Capital C, G, O, Q, Lower case a, c, d, g, o and, q. Make sure each circle stroke is COUNTERCLOCKWISE. If you’re child needs extra practice drawing circles counterclockwise, check out my post titled, A Circle Summer!
5. CIRCLING VOCABULARY
Progress to putting 3 stickers on a page. Teach the words middle, left, right, then say, “Circle the middle sticker, the left, the right.” Or teach 1st, 2nd, 3rd etc. “Circle the first, second or third sticker.” Or “Circle the (name the object).”

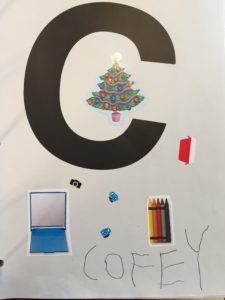
6. BEGINNING SOUNDS OF WORDS:
Get 26 pieces of paper. Write the capital and lower case letter on each page.
The first page will have an Aa, the second page Bb and so on. 3 hole punch the left side of these pages and place them in a binder for review and writing later. At least once a week, or as you have stickers, have the child name the sticker. Emphasize the first sound. Place the sticker on the page with that letter. (For example, Penguin, Pitcher, Polar Bear on the P page)

Later, as the child learns the sounds of the letters and how to write the letters, he/she can go back to the pages and write the name of the sticker.
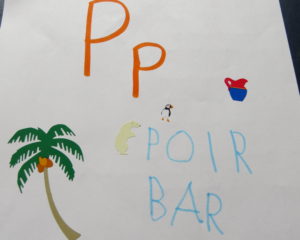
Here are samples from my 5 1/2 year old son’s binder that he completed earlier this year.
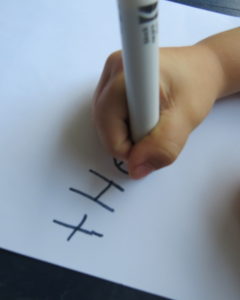
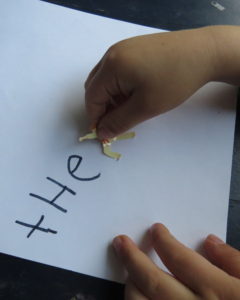
7. SIMPLE SIGHT WORDS:
On the blank side of a piece of paper have the child write the word “a” (Remember the circle should be counterclockwise. To read a complete post about letter strokes, click here).
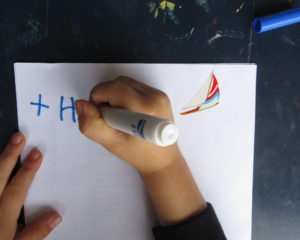
Tell the child that “a” is a letter and it’s also a word. Say the word “a”. Then, have the child choose a sticker to put next to the word “a.”
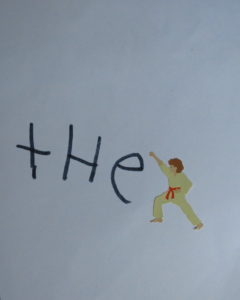
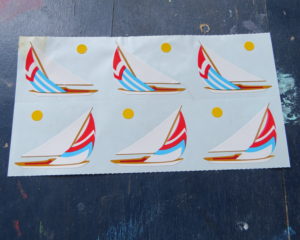
Then, read “a sailboat.” Do this 3-4 times using different stickers. Over the course of the next few days or week, review the word “a” and add pages with more stickers. Each sticker should read, “a ______”. Then, teach the word “the” in the same way. Make pages that read “the _____.”
Place any pages you make into your child’s binder.
8. NUMBERS and COUNTING:
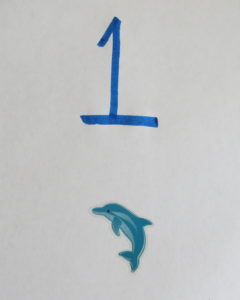
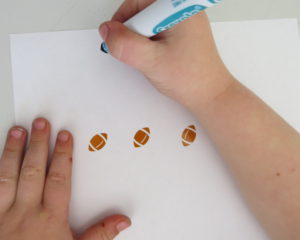
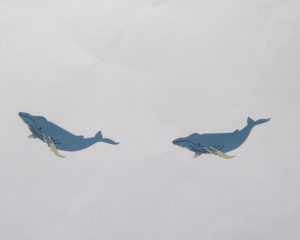
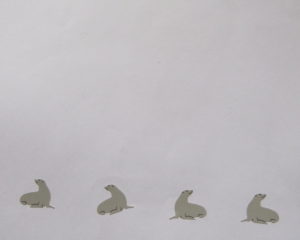
In the same way you made pages with letters on them, make pages with numbers 0-10. I decided to add 0 (zero) because I realized with my sons that knowing zero equals none doesn’t necessarily come naturally. They found it very silly to learn that 0 means NONE! On each number page write a different number (0-10). Number pages are great for sheets of stickers that have the same sticker many times.
Under each number have the child stick that many stickers.
Encourage your child to place the stickers in a straight line, so they can practice one to one correspondence when they count.
One to one correspondence means the child touches the first sticker while saying “one,” touches the 2nd sticker while saying “two”, touches the third sticker while saying “three,” and so on. The child doesn’t just slide his finger fast and say “1, 2, 3” fast. The child touches the sticker as he/she says that number.
This is developmental and something that the children need to learn. This sets them up for one to one correspondence in reading (touching the word that they say instead of sliding their finger while “guessing” words).
For numbers 0-3 you can stick the stickers on 2-3 pages in one day. For the bigger numbers (4, 5 and up to 10), you’ll probably just want to do one page a sitting. We want the child to be and feel successful. If they get tired, try to finish the number they’re on and then definitely stop.
Place the number pages into your child’s binder for them to look at over and over again in the coming days and weeks.
Continue adding stickers to the number pages over the course of time that the child is learning to count the numbers 0-10.
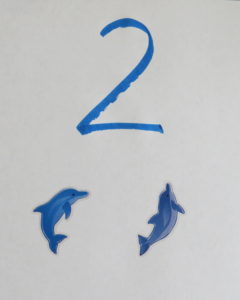
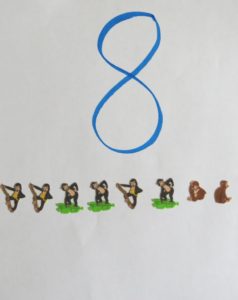
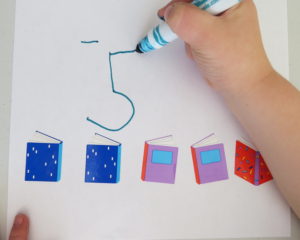
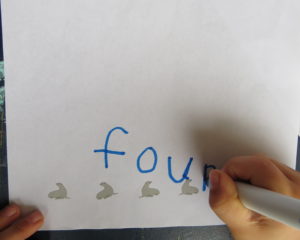
9. WRITING NUMBERS
The next step is to have the child stick a number of stickers on a page, then write the number.
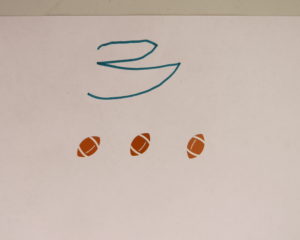
Place the pages in your child’s binder for counting and review.
10. WRITING NUMBER WORDS:
Later, when your child is ready, he/she can go back and write the number words.
Check out these:
Tips to Teaching Children How to Spell Number Words One to Ten
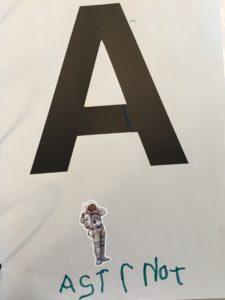
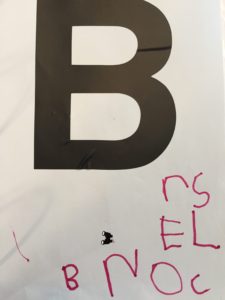
11. PHONETIC SPELLING
Have the child choose a sticker to put on his/her paper. The child says the word slowly, then writes the sounds that he/she hears. The word will most likely not be spelled correctly. Correct spelling is not the goal. The goal is for the child to hear sounds and be able to write them down.
Place the pages in your child’s binder for reading and review.
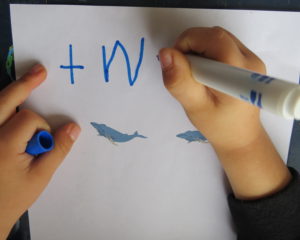
12. WRITING SIMPLE SIGHT WORD SENTENCES:
Sight words are the most common words that we use that are not spelled as they sound. Here’s a list of words intended for Kindergartners or very beginner writers.
Similar to # 7 Simple Sight Words, the child can use stickers to practice writing simple sight word sentences. The child writes, I see a ______ and places a sticker.
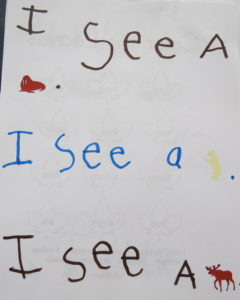
Place the pages into your child’s binder for future practice and review.
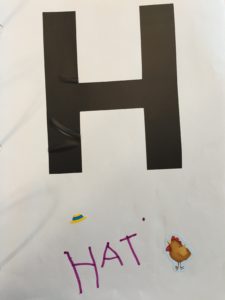
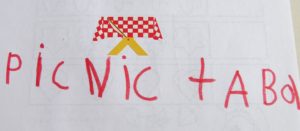
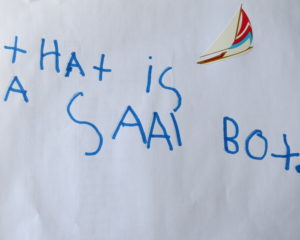
13. WRITING ONE COMPLETE SENTENCE
Here the child sticks a sticker, then writes a complete sentence about the sticker. This sentence is usually a mix of known sight words (spelled correctly) and phonetic spelling (writing the sounds that you hear).
Place the pages in your child’s binder for reading. They LOVE to go back into their binders to read what they have written!!
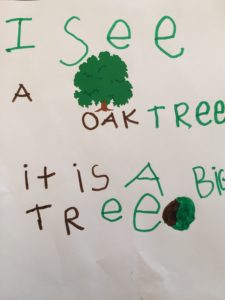
14. WRITING 2-3 SENTENCES:
Here the child places a sticker, then writes 2-3 sentences about it.
Place the pages in the child’s binder for reading and review.
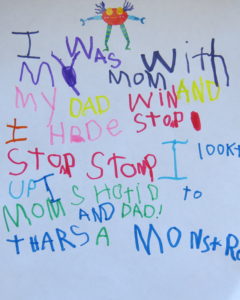
15. WRITING A STORY
Here the child places a sticker, then writes a story about it.
Print these 15 Ideas
Here’s the list of 15 ideas for you to print out and use.
16. COMPLETING A GUIDED WRITING LESSON
Stickers (along with calendar pictures) are by far the most popular art accent that we use at my writing camps and workshops. They are simple, fast and easy to clean up.
Three Kinds of Stickers
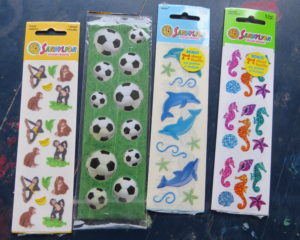
I actually have three containers of stickers. The first one just holds Letters* that students use to write their titles. Another one holds themes that I’ve gathered a lot of. For example, snow stickers* and horse stickers*. I use these to create new writing prompts. The third container holds all of my miscellaneous stickers. There’s not a lot of any one kind, just many different stickers.
Accompany Writing Prompts
Two ways that stickers can be used to accompany students’ writing are:
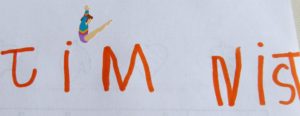
Write a Title
- Write a title using Letters*


This is a charming finish for stories and highly motivating to the children. ABC stickers can get VERY expensive at craft stores. They can be found at the Dollar Tree but the adhesive isn’t strong sometimes. Look around, keep your eyes peeled for ABC stickers and grab them ANY time they are less than full price.
In an eager “I really want them right now!” situation, pay full price. Here are links to Walmart* and Amazon*.
Themes
2. Secondly, students decorate the border of their story with thematic stickers. I often create story prompts based on the stickers that I have. Here’s a list of a few examples:
First, to go along with green vine stickers that I had, I created the prompt:

Second, I had snow flakes* and created the prompt:

Third, I had hearts* and created the prompt:

Fourth, I had horses and created the prompt:

Highly Motivating
I think I can honestly say that stickers have motivated EVERY writing camper that I’ve ever had. Kids LOVE them and they LOVE knowing that they get to use stickers once they’ve finished their story. However, the stickers aren’t grounds for finishing their stories fast though.
It’s important to maintain a realistic expectation for the children and hold them to it. In my post titled, Guided Writing Lessons for Grades K-5, I explain how I break down each guided writing lesson to 5 sections. K-1st Graders are expected to write 1 sentence for each section, 2nd Graders-2 sentences for each section, 3rd Graders-3 sentences and so on. The kids that I work with meet these expectations! They can do it!
Here’s the bordered lined paper that I give to students:


The first is for Grades K-2. The second is for Grades 2-7. Often, the older campers will need more than one page. You can print the paper for Grades K-2 here and for Grades 2-7 here. For very early writers you can use this PreK-K page that doesn’t have lines.
In the end, my students put their finished stories in a plastic page protector* and then into a writing binder for keepsake.

Plastic Page Protectors
These page protectors aren’t terribly expensive. However, it is another expense, so it’s certainly not necessary to do this. If you choose to buy plastic sheet protectors, I suggest buying a package of 100 at a time at Walmart* during their summer back to school sales.
I bought a pack of 100 for $4.44. They usually sell them in packs of 20 and 50 also.
The protectors keep the stories nice. If the child’s stories are only one page, you can fit 2 stories back to back in a single page protector.
More Writing Prompts with Full Lessons to Print
Below are writing prompts that I’ve posted so far that incorporate stickers in the final art accent:
Birthday Party-Personal Narrative


Gnome in a Pumpkin Patch-Fantasy


Leprechaun Attack–Science Fiction


Valentine’s Day-Old School Friendly Letter


Subscribe Below!
There’s definitely more to come! If you’d like to receive new writing ideas regularly, you can sign up for my free monthly newsletter below.
You won’t go wrong with stickers! Kids every where I go LOVE them! If you want to start shopping for stickers, check out Amazon*.